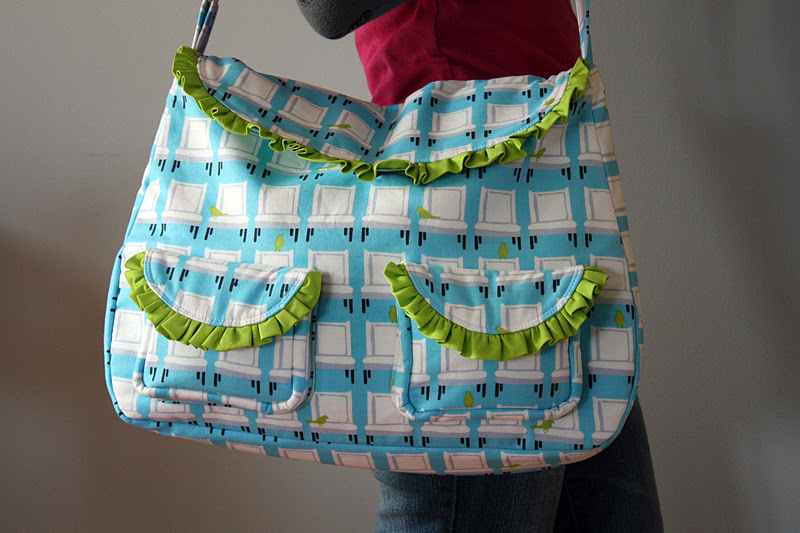
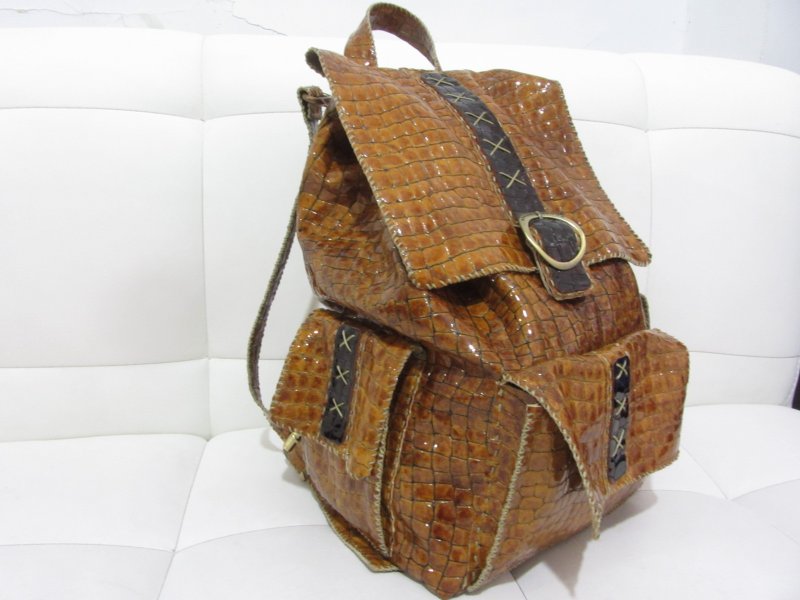
الگوهایی جدید برای دوخت کیفهای چرمدوزی

آموزش کفش نوزادی چرمی

Picture of Make Leather Baby Shoes (Mary Janes For A Baby Girl)
MaryJaneShoePattern_instructables_scaled.jpg
Picture of Choose a Piece of Leather
Picture of Stitch the Ends of the Shoe Tops
 
 
Picture of Sew the Tops to the Soles
 use the contact cement. Something to keep in mind is that because you are taking 2 pieces that are 1 dimensional (flat) and making them 3 dimensional, you will have to fudge it a little as you go along glueing the edges.

I recommend starting with a little bit of contact cement at the front of the shoe, pressing the two pieces together and do a little at a time (I've marked the front of the top and sole on a the template with a line to help with this). This way you can make adjustments as you go along and if it gets a little off by the end it's okay since it's the back end. ;) Make sure as you are doing this that you don't use two much contact cement because if you go wider than what your seam will be there will be visible contact cement when you flip the shoe inside out.

After attaching both shoes, let it dry a little then take it to your sewing machine. Because I laser cut mine and the laser burns the end of the leather so it doesn't fray, I didn't want a large seam and stitched mine close to the edge (that's what the second line on the pattern is for). With a large seam you will have to trim some of the excess leather off. You can stitch yours however you want but just keep in mind that the further away from the edge you get, the smaller the shoe will be in the end.

After you are done stitching flip the shoes right side out and admire your progress (your making shoes!).

Step 5: Add the Straps

Now you need to add the straps to the Mary Janes. You have a few different options for this and don't need to use the straps I designed. You can stitch an elastic band or add some ribbon or use plastic snaps and buttons. Whatever it is make sure however you attach it there's nothing sticking out on the inside and nothing that can be bitten off. I went with double cap rivets and segma snaps because they would be permanent and I installed them in a way so that they are smooth and flat on the inside. This is probably much more heavy duty than needed on baby shoes that will be worn very briefly so I probably won't do that if I ever make baby shoes again.

Step 6: All Done!

Take a step back and admire what you've done. If they're a little messy don't worry about it-- they're handmade. And the very small human that will be wearing these probably won't mind. ;)

۰۸ شهریور ۹۴ ، ۱۲:۱۸ ۰ نظر موافقین ۰ مخالفین ۰
کار در خانه

یک کیف با توضیحات انگلیسی

قبلا توضیحات انگلیسی را حذف می کردم

اما شاید برخی بتوانند استفاده کنند

از این به بعد حذف نمی کنم

به شرطی که از آنها نترسید

به خود تصاویر توجه کنید

تقریبا می توان الگو را از خود تصاویر هم به دست آورد


Picture of 1960s Style Leather Duffel Bag

Picture of The Bits, Parts, and Pieces


Picture of Making the Rounds

Cut two circles (or rounds), one for each end of the bag, from the 6-7 oz leather, measuring 9" in diameter. You can use 4-5 oz leather, if you prefer. I used 6-7 oz leather to add a bit of stability to my bag. The perfect round object to use as a template is a dinner plate.

Marking and placement of the punch holes is the most critical part of this project; so please forgive me if I spend a lot of time here.

On the first leather round (smooth side up), use your awl (or nail) to very gently scribe a circle 1/2" away from the edge, all the way around. The holes that you punch for lacing will be centered on this line. Next, you will need to make marks on the line so you know how far apart each hole punch should be. Make your first small mark anywhere on the line...from this mark, measure out 1" and keep marking 1" increments all the way around the circle. The first illustration shows a drawn depiction of the first 7 marks. The second illustration shows how the round should look after the holes have been punched.

Prepare to punch the lacing holes.

Protect your working surface and the tips of your punches by placing a poly cutting board or poundo board under your leather work.

Using your mallet/maul and the #9 Craftool Oval Drive Punch, punch out the lacing holes. Note that the punch should be centered over each of the 1" cross marks you made on the circle. Note also, the direction that each oval hole is oriented. The ends of the oval shapes point toward the center of the circle.

Once you finish punching out the lacing holes on the first leather round, repeat the process on the second round. You can cheat! Put the smooth sides of the rounds together with the rough side of the first round facing up and the rough side of the second round facing the work surface. We do it this way to insure that we have to opposite rounds rather than two matching rounds. Use your awl (or nail) to gently trace the punch holes on the second round. If you use this cheating method, the two rounds must stay perfectly lined up the entire time you are tracing, or your lacing holes will be off.

When you finish, count the number of holes you punched on each circle (they should be the same)...my circle has 49 holes.

To add the Dee Rings, cut two strips from the 4-5 oz leather, measuring 3/4" x 5" each. Fold the first strip in half and using the size 6 Craftool Round Hole Drive Punch, punch two holes through the folded leather. The first hole is centered and 1/2" up from the unfolded end; the second hole is centered and up 1-1/2" from the unfolded end. Take note of the illustration for placement of the strip on the round (slightly above center). Use the strip with the holes punched to mark the holes on the round. Punch them out too. Add a 3/4" Dee Ring to the folded end of the strip and attach to the round using the Chicago Screws.

Repeat on the other round.

Step 3: The Body

Picture of The Body
 

The length of the body is really your choice. The size I chose was 15" and cut a 15" x 25" rectangle from the 4-5 oz leather. From here on out, I'll refer to the 15" as the top (or bottom) and the 25" as the long sides. Using your awl (or nail), scribe three lines; one at the top and one on each long side, 1/2" from the edge. Refer to the illustration to insure the correct orientation of the oval lacing holes. Mark the 1" increments on the long side lines of the rectangle first, starting at the top of the leather. Punch out the lacing holes on both long sides. My rounds have 49 holes, which means that each long side of the rectangle has to have 49 holes, BUT, because I want the leather to overlap, I added three more holes to the length for a total of 52 holes on each side.

On the top (or short) line that you scribed, starting on the left side, make your first mark 1/2" away from the lacing holes on the long side. Now mark 1" increments across the line. The last 1" mark should be no closer than 1/2" to the punched holes on the right side. Punch out the lacing holes. You should now have both sides and the top holes punched.

Count down to lacing hole number 50 on the long side. Using your awl or nail, scribe a bottom line from the middle of hole 50 on the left to the middle of hole 50 on the right. using the exact measurements from the top line, mark the matching lacing holes on the bottom line. Punch out the holes.

Add your 12" zipper. Measure down 6" from the top and using the dimensions of your zipper, cut a length and width from the leather that allows only the teeth and zipper pull to show. Once you are satisfied with the fit, you can add some Elmer's glue to the zipper material and glue it from the back side of the leather. Make sure the zipper is zipping in the right direction! The glue dries fairly quickly, so it is ready to sew in place. You can either sew it by hand by punching holes or by using a sewing machine that can sew through leather. I normally sew by hand since I don't have an industrial sewing machine. I use the Craftool Round Hole Drive Punch, size 00, catalog #3777-00 to punch the holes and the Craftool Spacer, size 5, catalog #8091-00, to make sure my spacing is consistent. Tandy has several choices for waxed threads (your choice) and also chisels (or pricking irons) that can be used in place of the 00 hole punch.

TIP: To help your zipper move smoothly, rub it with candle wax or beeswax.

If you want to add a pocket, cut a 7" x 10" rectangle from the 4-5 oz leather. You can use a small round object (like a jar lid) as a template to round the four corners. Mark your line around the perimeter of the pocket (1/2" away from the edge) and mark the 1" increments all the way around. Punch the lacing holes. Add the zipper, as before, 2" down from the top of the pocket. Once the lacing holes are punched, place the pocket 3" down from the 12" you zipper you just sewed on the bag, and center it. Use your awl or nail to mark the lacing holes to be punched on the bag. Punch these holes.

It's time to lace!

Step 4: Let's Start Lacing!

Picture of Let's Start Lacing!
 
Picture of Want to Make a Strap?
 
Picture of Dress Her Up and Take Her Out!
IMG_5085.JPG
۰۸ شهریور ۹۴ ، ۱۲:۰۴ ۰ نظر موافقین ۰ مخالفین ۰
کار در خانه

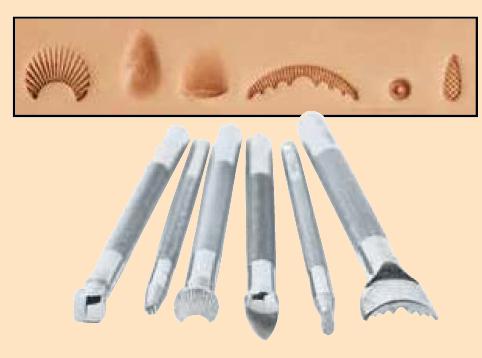
وسایل طراحی روی چرم


leathercraft stamp set, creative leather stamp set


basic 7 leathercraft tool set


basic stamps of leather carving


55500-00 youth leathercraft set, leather tools, leatherwork
basic leathercraft set, leather tools, leatherwork

55501-00 Basic Leathercraft Kit, Leatherwork Set $69.99

This Basic Leathercraft kit, leatherworking set introduces people to the basics of carving,
stamping and finishing. This set includes tools, leather, instructions and everything to make a wallet, coin pouch, key fob and rounders.
Individual items in the kit include:
• Mallet • Sponge • 4 oz. Bottle Leather Finish • Swivel Knife • 6-pc. Starter Tool Set
• Tracing Film • Strop Piece • Jeweler’s Rouge • Instructions • Projects (5)
deluxe leathercraft set, leather tools, leatherwork


ultimate leathercraft kit, leatherwork set


۰۸ شهریور ۹۴ ، ۱۱:۳۳ ۰ نظر موافقین ۰ مخالفین ۰
کار در خانه

کیف پول با تصویر

ر ابتدا : الگوی کیف چرم دست دوز مورد نظر راطبق موارد زیر تهیه فرمایید

۱-۱-چارچوب اصلی کیف پول: مربع با ضلع۲۰cm و در صورت تمایل به محفوظ تر بودن ،لبه ی اضافه شده به عنوان درب مطابق تصویر را به یک ضلع مربع اضافه کنید.


aupload.justladies.ir_imgjustladies_imported1_2013_04_1505.jpg 

aupload.justladies.ir_imgjustladies_imported1_2013_04_1506.jpg 


۱-۲-جا کارتی ها: مستطیل ۴در۸٫۵cm به تعداد ۴ وهمچنین یک مستطیل ۸٫۵ در ۱۲cm تهیه فرمایید. شما می توانید یکی از اضلاع ۸٫۵ cm در تمام مستطیل ها را به هر فرمی (هلال ، صعودی و..) که می خواهید در بیاورید . به طور دلخواه می توانید روی مستطیل بزرگ تر از قشر شکلی که روی چارچوب اصلی به کار بردید یک طرحی بزنید.


aupload.justladies.ir_imgjustladies_imported1_2013_04_1507.jpg 


۱-۳-یک مستطیل ۷در۲۰ و دو مستطیل ۳در۲۰ که یکی از این دو را می توان از چرم نازک تری انتخاب کرد.


aupload.justladies.ir_imgjustladies_imported1_2013_04_1508.jpg 


۲- آستر کشیدن
۲-۱-سمت راست داخل کیف پول چرم دست دوز : مستطیلها در مورد الگویی (-۱-۲) با آسترهای سوزنی به طوری که تمامی آنها به صورت پی درپی قرار گیرند یک مستطیل۲۰ در ۸٫۵ را تشکیل می دهند آستر کشی می کنیم فقط کافی است که پشت هر الگو را با چسب آغشته کرده و به آستر مورد نظر بچسبانید و در نهایت همه ی آنها را مطابق شکل فقط کافیه حاشیه ها را چسب کاری کرده وبه هم متصل می کنیم.


aupload.justladies.ir_imgjustladies_imported1_2013_04_1509.jpg 

aupload.justladies.ir_imgjustladies_imported1_2013_04_1510.jpg 


۲-۲-سمت چپ داخل کیف: می توانید مستطیل ۲۰ در ۷ را به عنوان محل عکسی انتخاب کنید و با کاتر شکل مورد نظر برای آن را جدا کنید.


aupload.justladies.ir_imgjustladies_imported1_2013_04_1511.jpg 


aupload.justladies.ir_imgjustladies_imported1_2013_04_1512.jpg 


برای ورودی عکس هم کافی است برشی به اندازه ورودی عکس ببرید وبه اندازه ی محل برش خورده طلق پشت کار می چسبانیم
در نهایت یک آستر سوزنی به صورت کامل پشت این مستطیل به صورتی که فقط حاشیه ها چسب کاری شود می چسبانیم


aupload.justladies.ir_imgjustladies_imported1_2013_04_1513.jpg 

۲-۳- ادامه ی سمت چپ: در یکی از مستطیلهای ۳ در ۲۰ یک مستطیل دیگربا کاتر در می آوریم به صورتی که از دو طرف۱٫۵ و از بالا یک و۱٫۵cm داخل میشویم.


aupload.justladies.ir_imgjustladies_imported1_2013_04_1514.jpg 


ابتدا یک آستر سوزنی ۷ در ۲۰ به پایین قسمتی که ۱٫۵cm داخل شده ایم می چسبانیم وحاشیه زیپ ۲۰cm را چسب زده و با احتیاط از پشت کار روی مستطیلی که درآوردیم قرار می دهیم وباز یک آستر ۸٫۵ در ۲۰ به بالا ترین قسمت مستطیل ۳ در ۲۰ می چسبانیم.


aupload.justladies.ir_imgjustladies_imported1_2013_04_1515.jpg 
۳- سوراخ کردن
۳-۱-سمت چپ و راست داخلی فقط کافی است یک طرف آن رانیم سانتی متر داخل شده و سوراخ هایی به فاصله ۰٫۷ یا ۰٫۵ سانتی متر میزنیم ولی در سمت چپ برای زیپ زیر زیپ را هم به همین شیوه سوراخ کرده در واقع در این مستطیل دو ردیف نیاز به سوراخ کردن داریم (نکته : زمان سوراخ کردن زیر زیپ آستر ۸٫۵ در ۲۰ را بالا می کنیم که جای سوراخ ها روی آن نماند.)


aupload.justladies.ir_imgjustladies_imported1_2013_04_1516.jpg 

aupload.justladies.ir_imgjustladies_imported1_2013_04_1517.jpg 

aupload.justladies.ir_imgjustladies_imported1_2013_04_1518.jpg 


۳-۲-روی چارچوب اصلی سمت راست که محل کارت هامی باشد را می چسبانیم وسمت چپ اول قسمت مربوط به زیپ و دوم قسمت مربوط به عکس را روی آن قرارداده بین این چپ وراست باید ۳cm فاصله باشد که با آن مستطیل ۳ در۲۰ می پوشانیم که از نظر دیداری شکیل تر خواهد بود (اما می توانید از این مستطیل صرف نظر کنید)

دور تا دور چارچوب اصلی را باید بوسیله ی خودکار چرم با فواصل ۰٫۷ سوراخ ها را علامت گذاری کرده و سوراخ کاری را انجام می دهیم. 


aupload.justladies.ir_imgjustladies_imported1_2013_04_1519.jpg 

aupload.justladies.ir_imgjustladies_imported1_2013_04_1520.jpg 


aupload.justladies.ir_imgjustladies_imported1_2013_04_1521.jpg 


منبع: ihedieh.com
 

۰۵ مرداد ۹۴ ، ۱۱:۴۵ ۰ نظر موافقین ۰ مخالفین ۰
کار در خانه

این کیف 2012را حتما می پسندید

014
Welcome to another bag sewing pattern! I created this pattern for Pellon Projects, and it is intended for an advanced seamstress. It features leather handles and accent detailing on the front and side, as well as a top zip. There is a flap pocket on the front of the bag as well! I hope you’ll enjoy making this bag!
ALL SEAM ALLOWANCES ARE 1/2″ UNLESS OTHERWISE NOTED.
PLEASE READ ALL INSTRUCTIONS BEFORE BEGINNING.


Printable Instructions and Pattern Pieces

0111


Finished size: 9.5″ tall x 14″ long

SUPPLIES


1/2 yard exterior fabric
– 1 yard interior fabric
– 2 yards Pellon SF-101 fusible woven interfacing
– 1 yard Pellon 520F (or you may substitute 1 yard Pellon Peltex 70 Ultra-Firm Sew-In combined with 1 yard fusible woven interfacing)
– 1/2 yard Pellon fusible fleece
– 20″ zipper
– 23″ – 28″ leather handles (I used size 28″ handles for a shoulder bag)
– 1/2″ magnetic snap
– zipper foot
– seam ripper
– coordinating thread
– hand sewing needle
– fabric marker or chalk

– ruler


Helpful Hint: I purchased my handles here; I found these to be the best price around, and the quality is exceptional.

STEP 1 ~ CUT OUT YOUR FABRIC


From the Exterior Fabric

1a. Using the Main Panel pattern piece, cut on the fold. Repeat to cut 2 panels. These will be your Exterior Main Panels.
 
1b. With the Flap pattern piece, cut 1 on the fold. This will be your Exterior Flap.
 
1c. Cut a piece measuring 5-1/2″ tall by 14″ long. This will be your Exterior Bottom Panel.
 
1d. Cut 2 pieces that each measure 5-1/2″ tall by 5-1/2″ long. These will be your Exterior Side Panels.
 
From the Interior Fabric
 
1e. With the Main Panel pattern piece, cut 4 each on the fold. These will be your Interior Main Panels.


1f. Using the Flap pattern piece, cut 1 on the fold. This will be your Interior Flap.


1g. Cut a piece measuring 5-1/2″ tall by 14″ long. This will be your Interior Bottom Panel.


1h. Cut 2 each, with each piece measuring 5-1/2″ tall by 5-1/2″ long. These will be your Interior Side Panels.


1i. Cut 2 pieces, each measuring 4-3/4″ x 22″. These will be your Zipper Panels.


1j. Using your Side Accent pattern piece, cut 4 pieces. Also cut 2 pieces that are each 3-1/2″ tall by 5-1/2″ long. These will be your Side Accent pieces.


From the Fusible Woven Interfacing


1k. Repeat Steps 2e. through 2j.


From the Fusible Fleece


1l. Repeat Step 2i. Also cut 1 Main Panel and 1 Flap. Cut 2 small 2″ x 2″ scraps of fleece as well.


From the Pellon 520F
(if you are using Pellon Peltex sew-in interfacing instead, please cut Step 2l. as 1 layer of fusible woven and 1 layer of Peltex sew-in; you will trim the Peltex by 1/2″ on all sides. For all future instructions referring to Pellon 520F, you will do this instead: place the Peltex against the wrong side of your fabric, centered. Follow that with one piece of fusible woven interfacing, with the fusible side against the Peltex. Fuse in place, sealing the Peltex against your fabric).


1m. Cut 2 each of the Main Panels, 1 each of the Flap, 2 each of the Side Panels, and 1 each of the Bottom Panel.


STEP 2 ~ FUSE YOUR FABRICS


2a. Take 1 Interior Main Panel and one of the corresponding fusible woven interfacing pieces. Fuse the woven interfacing to the wrong side of the Interior Main Panel using manufacturer instructions. Repeat for 2 more Interior Main Panels. Also repeat for the Interior Bottom, the Interior Flap, and the Interior Side Panels.


2b. Take the remaining Interior Main Panel and one of the Main Panel pieces cut from Pellon 520F and fuse to the wrong side of your fabric following manufacturer instructions. Repeat for only 1 of the Exterior Main Panels, the Exterior Flap, the Exterior Bottom, and the Exterior Side Panels.


2c. Use the remaining Exterior Main Panel and one of the corresponding fusible woven interfacing pieces. Fuse the woven interfacing to the wrong side of the Exterior Main Panel. Then fuse the fusible fleece against the fusible woven interfacing. Repeat for the 2 Zipper Panels.


STEP 3 ~ ASSEMBLE THE FLAP


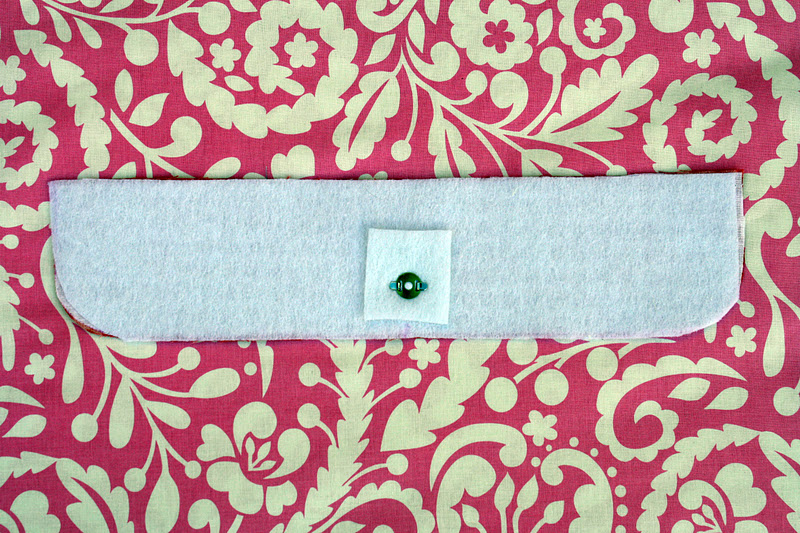
3a. Take your Interior Flap. Fold it in half, lengthwise, and lightly finger press the crease. Make a mark with your fabric marker that is 2″ down from the longest straight edge.


3b. You will be using the smaller half of the magnetic snap. Take out the washer and place it on the mark that you made on the Interior Flap. Make a mark, using the washer, where the slits are to go. Use your scissors and cut small slits where the marks are. Repeat this for the center of one of your 2″x2″ scraps of fleece. The reason that you are using the fleece is that it will help to reinforce your fabric against the pull from the magnetic snap every time you open and shut the flap.


Helpful Hint: I like to put a dab of Fray Check on the slits that were cut. I feel this helps the fabric hold up a bit better under the stress of the magnetic snap.

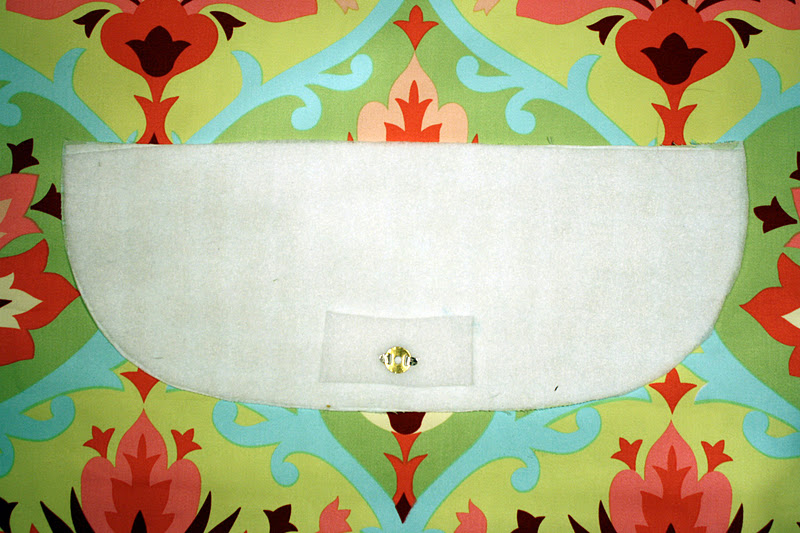
UrbanStep3c

3c. Slide the prongs of the snap through the right side of the Interior Flap. Place the fleece square, then the washer, over the prongs. Close the prongs outward (use pliers with a piece of scrap fabric over the metal, if you need to), making sure they lie flat.

UrbanStep3d

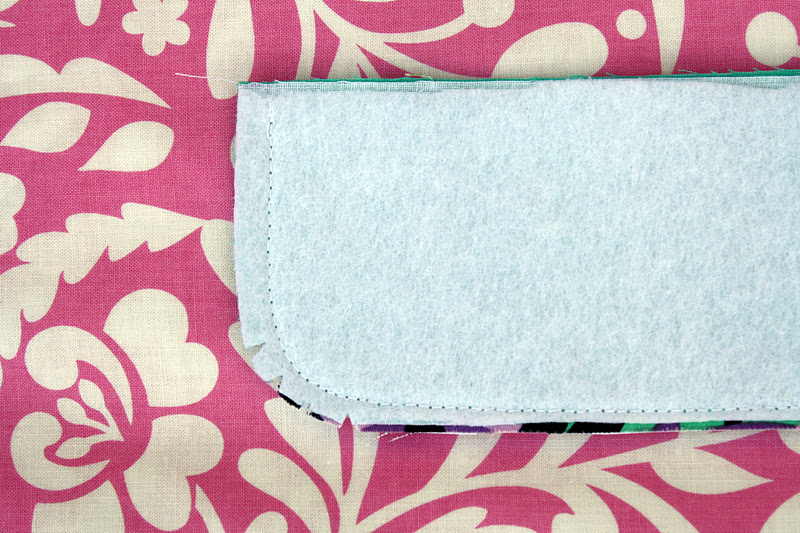
3d. Take your Exterior Flap and your Interior Flap, and place them right sides together. Sew along the curved edge using a 1/4″ seam allowance (do not sew the straight edge). Notch your seam (cutting small v’s every 1/2″), being careful not to cut into the stitching. Turn your fabric right side out and press.

UrbanStep3d1

3e. Topstitch the Flap, 1/8″ from the edge, along the edge that you sewed in Step 4d.


STEP 4 ~ ATTACH THE ACCENT PIECES

UrbanStep4a

4a. Take one of your square Side Accent Pieces and press one 5-1/2″ edge down by 1/2″. Topstitch 1/4″ from the edge. Repeat for the other Side Accent Piece.

UrbanStep4b

4b. Take 1 of the Side Accent Pieces and 1 of your Exterior Side Panels. Place the Side Accent Piece at the bottom of the Exterior Side Panel, so both bottom edges are even. Topstitch on top of the Side Accent Piece, 1/8″ from the finished edge of the Side Accent Piece. Then baste the remaining 3 edges of the Side Accent Piece in place.

UrbanStep4c

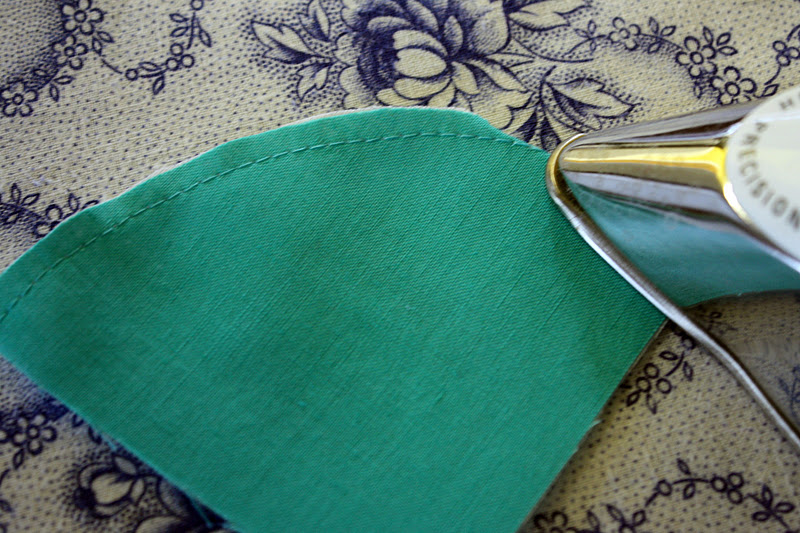
4c. Take 1 of your curved Side Accent Pieces. Topstitch on the curved edge only, 1/4″ from the edge.

UrbanStep4d

4d. Using your iron, turn the stitched edge under and press along the curve. It helps to slowly press the edge with your fingers and then inch along with the iron. Repeat Step 4c. and Step 4d. for the other 3 curved Side Accent Pieces.

UrbanStep4e

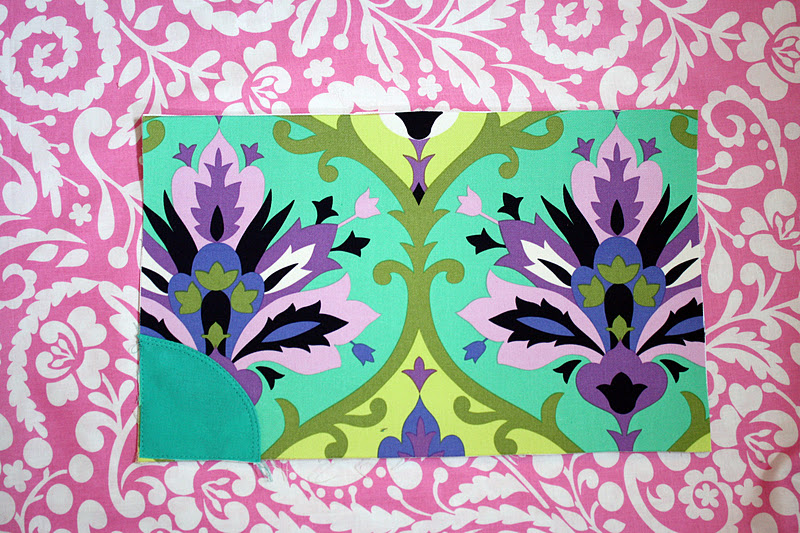
4e. Place 1 curved Side Accent Piece in the bottom left-hand corner of the Exterior Main Panel (the piece fused to the 520F). Topstitch the Side Accent Piece, 1/8″ from the edge. Also topstitch again, 1/4″ from the edge. Baste the 2 straight edges of the Side Accent Piece in place. Repeat for 1 more curved Side Accent Piece and the right-hand edge of the Exterior Main Panel.


4f. Repeat Step 4e. for the remaining 2 curved Side Accent Pieces, and the Exterior Main Panel that you interfaced with the fusible fleece.


STEP 5 ~ ASSEMBLE THE OUTER POCKET


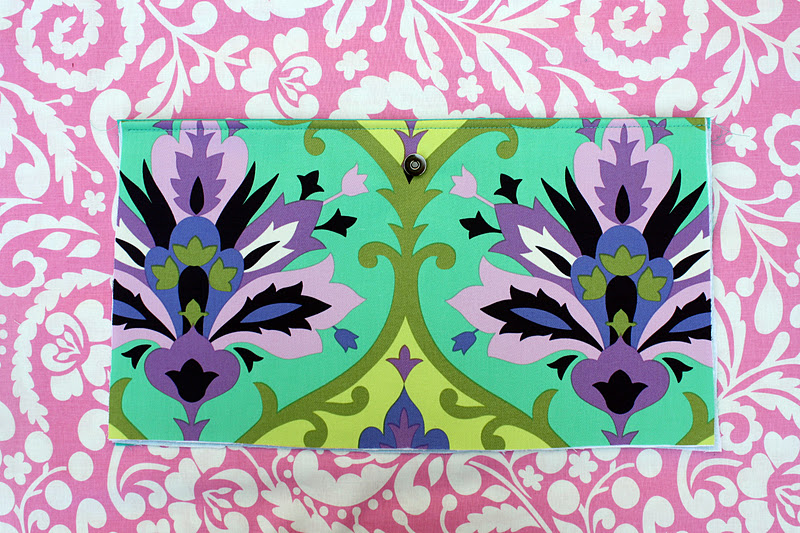
5a. Take the Exterior Main Panel piece that you interfaced with the fusible fleece, and the remaining half of the magnetic snap. Fold the Exterior Main Panel in half and finger press a crease to find the center. The measure up 7″ from the bottom of the Exterior Main Panel and make a mark intercepting the center point. Insert the other half of the snap, using the same method that you used for the Flap.

UrbanStep5b

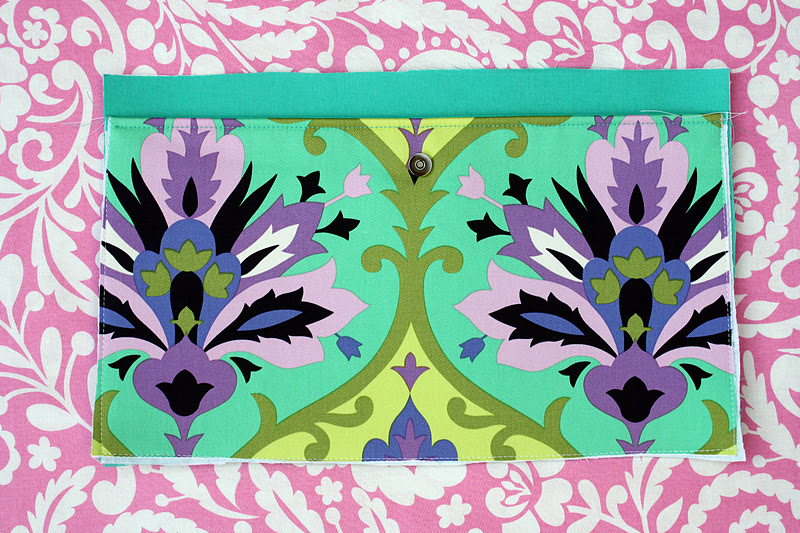
5b. Take the Exterior Main Panel piece from Step 5a., and 1 of your Interior Main Panels. Trim 1/2″ off the top of each piece (the top is the slightly shorter edge). With the 2 pieces right sides together, sew along the edge that you just trimmed.

UrbanStep5c

5c. Turn your panels right sides out and press. Topstitch 1/4″ along the finished edge.

UrbanStep5d

5d. Place the panels that you just sewed, against the right side of the Interior Main Panel that is interfaced with the 520F. The bottom, unfinished edge of the panels should be even with the bottom of the Interior Main Panel. Baste in place along both side edges and the bottom edge.

UrbanStep5e

5e. With the exterior side of the Flap facing you, baste the long, unfinished edge of the flap (centered) with the top of the Interior Main Panel from Step 5c (close the snap first). This unit will now be referred to as one of the Exterior Main Panels.

UrbanStep5f

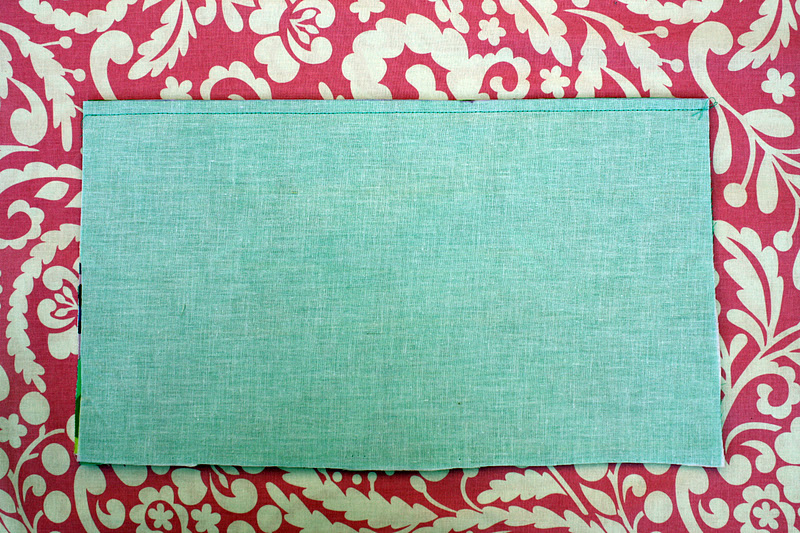
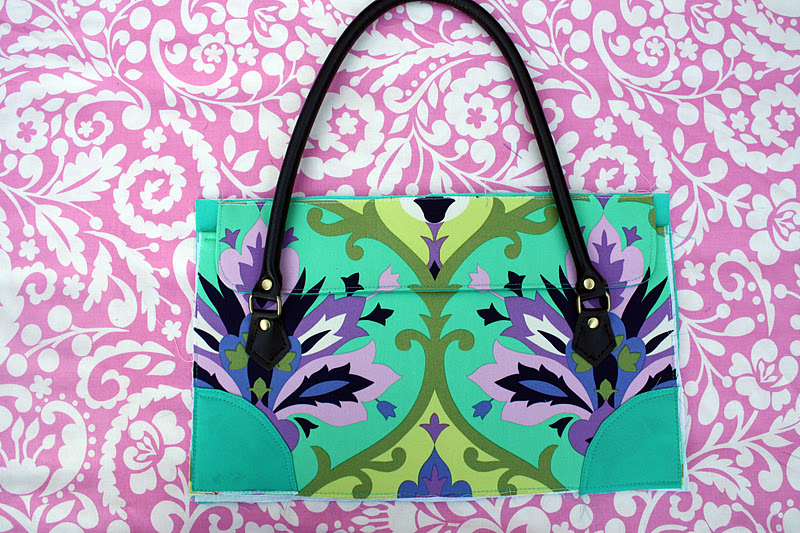
5f. Take the completed Exterior Main Panel with the flap, and one of your handles. Place the left end of the handle up 5″ from the bottom and over 2-1/2″ from the left. Make sure your handle tab is free of the flap so that you are able to open and close it (the strap will be on top of the flap while you are wearing the bag). You may need to adjust the placement depending on the handles you have chosen. Sew the handle tab in place. If your tabs are thick, you may need to hand-crank your needle, or even hand sew. Repeat to secure the right end of the handle. Follow this step to attach the other Handle to the remaining Exterior Main Panel.


The handles will be stitched through a small portion of the pocket; this is important so that the stitches go through the Pellon 520F to add stability to the area where the handle tabs are.


STEP 6 ~ INSERT THE ZIPPER


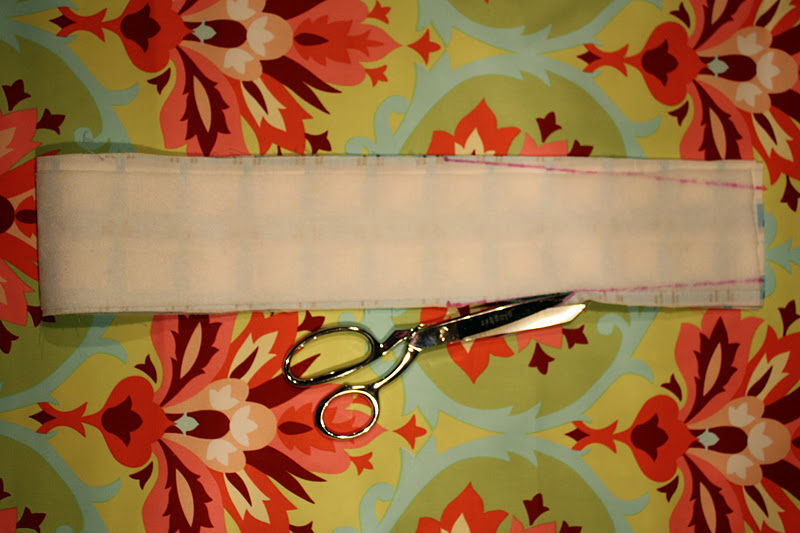
6a. Take your Exterior Zipper Panel and cut it in half, lengthwise.

UrbanStep6b

6b. Place the resulting 2 pieces right sides together. With your fabric marker, measure and make a mark that is 1″ in from that left-hand edge. Do the same for the right-hand edge. Sew from the mark to the corresponding edge (each line of stitching will be only 1″ long), using a 5/8″ seam allowance.


6c. Set your machine to a basting stitch. Baste, using a 5/8″ seam allowance, in between the 2 lines of stitching from Step 6b. Press the seam open.


6d. The wrong side of your Exterior Zipper Panel should be facing you. Take your zipper and place it face down on top of the Zipper Panel. The zipper teeth should be approximately on top of the basting stitches. Pin in place.

UrbanStep6e

6e. Put the zipper foot on your sewing machine, and sew along 1 long edge, pivot, sew the short edge, pivot, sew the remaining long edge, pivot, and finally sew the remaining short edge. You should sew approximately 1/4″ away from the zipper teeth.

UrbanStep6f

6f. With the right side of the Exterior Zipper Panel facing you, remove the basting stitches with your seam ripper.


STEP 7 ~ ASSEMBLE THE EXTERIOR

UrbanStep7a

7a. Place 1 of your Exterior Side Panels in front of you, so that the Accent Piece is at the bottom. Make a mark at the top of your Exterior Side Panel, that is in 3/4″ from the top left-hand corner. Draw a line from the mark you made, down to the bottom left-hand corner of the Exterior Side Panel. Repeat for the right-hand side of the Exterior Side Panel. Cut along both lines and discard the slivers.

UrbanStep7b

7b. Take 1 Exterior Side Panel and your Exterior Zipper Panel. Place them, right sides together. The short edge of the Exterior Side Panel should be even with the short edge of the Exterior Zipper Panel. Sew along the short edge, and press the seam toward the Exterior Side Panel. Topstitch on top of the Exterior Side Panel, both 1/4″ and 1/8″ from the seam that you sewed in this step.


7c. Repeat Step 7b. for the remaining Exterior Side Panel, and the other end of the Exterior Zipper Panel.

009

7d. Take one of your Exterior Main Panels and the assembled Side Panel. Place the long edge of the Side Panel flush with the outer edge of the Exterior Main Panel, starting at the bottom left-hand corner of the Exterior Main Panel. Pin in place, moving up the side of the Exterior Main Panel. When you get to the top left-hand corner of the Exterior Main Panel, ease the Side Panel around the corner, then continue across the top of the Exterior Main Panel. Ease through the top right-hand corner as well, and continue until you have reached the bottom right-hand corner of the Exterior Main Panel.


Helpful Hint: I found it easier to sew the sides first, then the top of the bag, leaving the corners for last. I was able to more evenly distribute the side panel when attaching it to the exterior panels.


7e. Sew along the edges that you just pinned. Notch (cut small v’s) the seam allowance at both of the top corners. Press seams open.


7f. Repeat Steps 7d. and 7e. for the remaining Exterior Main Panel.


7g. Unzip your zipper (this is important so that you will be able to turn your exterior right sides out). Take your Exterior Bottom Panel and place it underneath your completed Exterior. Line up the raw edges of both, making sure the corners are even, and pin in place.

010

7h. Sew along one of the short edges, starting and stopping 1/2″ from the corner. Repeat for the other short edges and both long edges. Trim the bottom corners, being careful not to cut into your seam allowance.


STEP 8 ~ ASSEMBLE THE INTERIOR


8a. Repeat Step 6a. and Step 6b. for the Interior Zipper Panel. 


8b. Press the seam allowance of the long edge of the Interior Zipper Panel to 1/2″ (the center of the panel will be unsewn, but press the entire long edge anyway).


8c. Repeat Steps 7a. through 7h. with all of the interior pieces, except you will be using a 5/8″ seam allowance. This is important so that your interior will sit more snug inside the exterior of the bag.


8d. Turn your exterior right side out and your interior wrong side out. Place the interior inside of the exterior (so that wrong sides will be touching). Pin in place in several randomly-chosen areas, and also pin the pressed edges of the Interior Zipper Panel against the wrong side of your zipper.


8d. With your hand sewing needle and coordinating thread, hand sew the pressed edge of the Interior Zipper Panel from Step 8b., to the wrong side of your zipper. You may also wish to hand sew a few stitches on the right side and the left side of the bag to hold the interior in place.

012


Congratulations, you’ve finished!!

۳۰ تیر ۹۴ ، ۱۰:۲۴ ۰ نظر موافقین ۰ مخالفین ۰
کار در خانه

الگوی کیف جدید همراه با تصویر

آدرس سایت اصلی

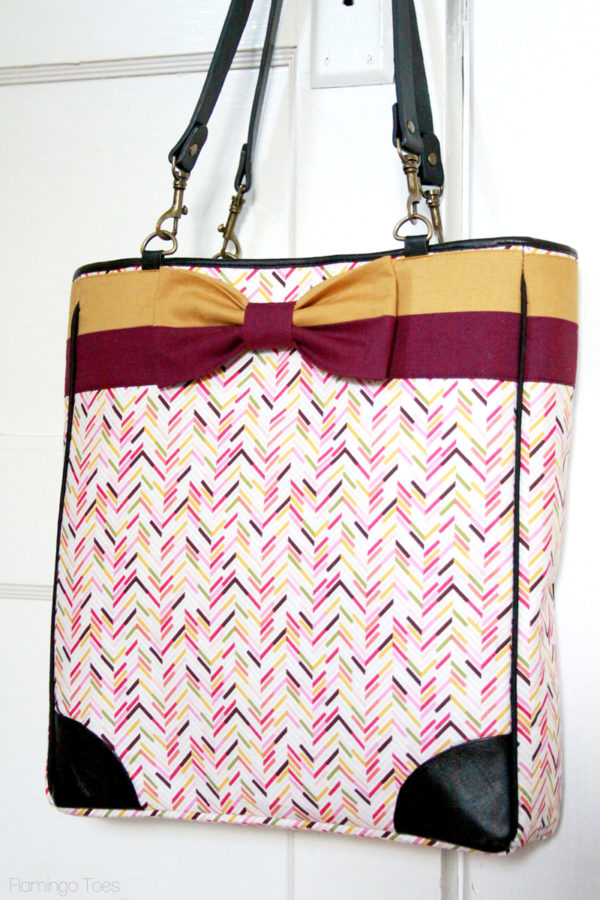
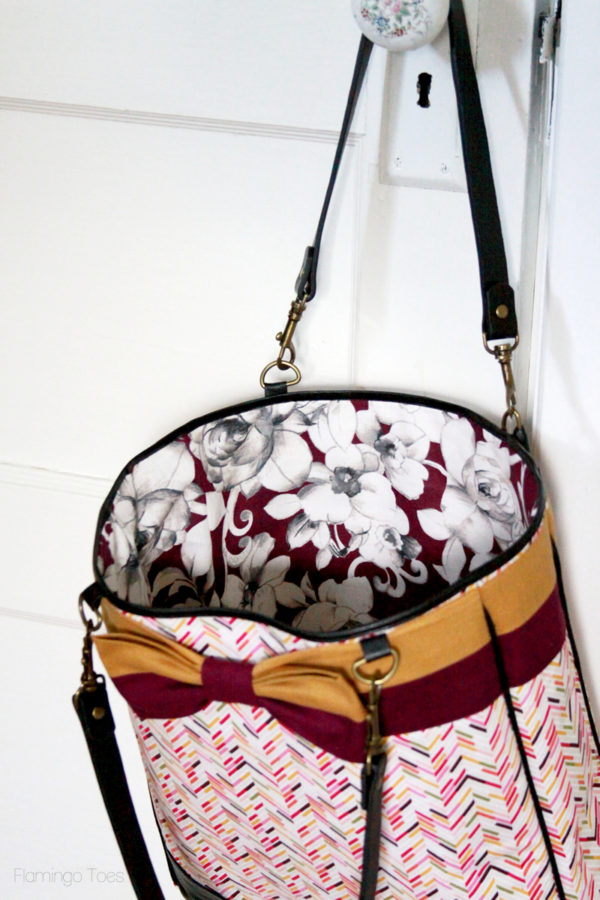
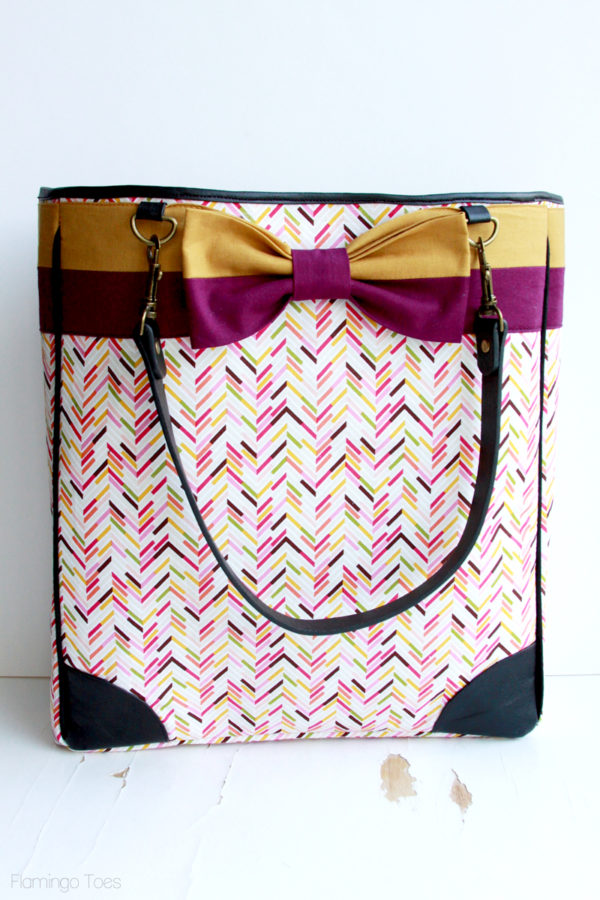
http://www.flamingotoes.com/2014/09/kate-spade-inspired-bow-tote/


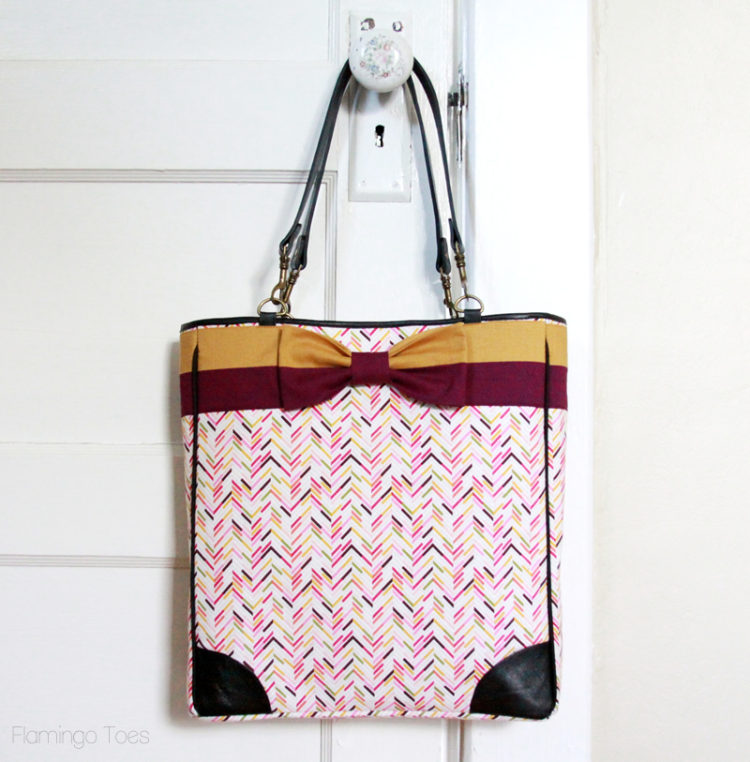
DIY Kate Spade Inspired Bow Bag

So let’s get started on the tutorial!

Here’s your materials list. All my supplies came from Jo-Ann Fabric and Crafts.

  • Outside Fabric: 1/2 yd
  • Lining Fabric: 1/2 yd
  • First Contrast Bow Stripe: 1/4 yd
  • Second Contrast Bow Stripe: 1/4 yd
  • Heavy Craft weight Interfacing: 1 1/4 yd
  • 2 Purse Handles
  • 1 Pkg Piping
  • 1 1/2 yds leather bias tape
  • Leather scraps for corner pieces

Cut out your fabrics in the following amounts:

  • Outside Fabric: 2 pieces 14″ x 13″, 2 pieces 14″ x 4″, 1 piece 13″ x 4″
  • Lining Fabric: 2 pieces 14″ x 13″, 2 pieces 14″ x 4″, 1 piece 13″ x 4″
  • First Contrast Bow Stripe: 2 pieces 13″ x 2 1/2″, 2 pieces 4″ x 2 1/2″, 2 pieces 13 1/4″ x 3 1/2″
  • Second Contrast Bow Stripe: 2 pieces 13″ x 2 1/2″, 2 pieces 4″ x 2 1/2″, 2 pieces 13 1/4″ x 3 1/2″, 1 piece 2″ x 4″
  • Interfacing: 2 pieces 14″ x 13″, 2 pieces 14″ x 4″, 1 piece 13″ x 4″

Ok, now we can start with the fun stuff!

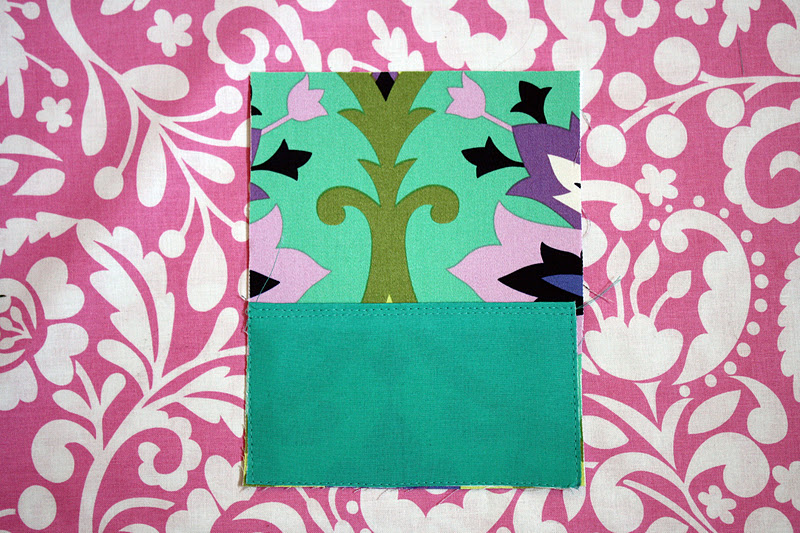
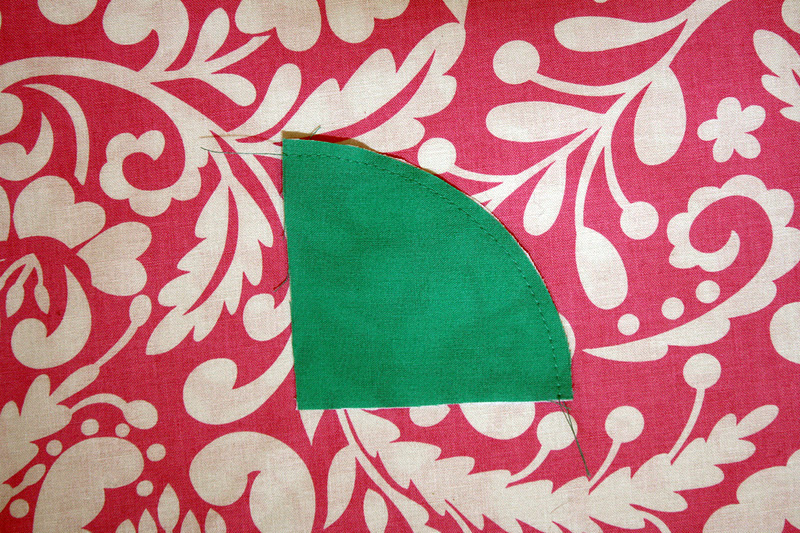
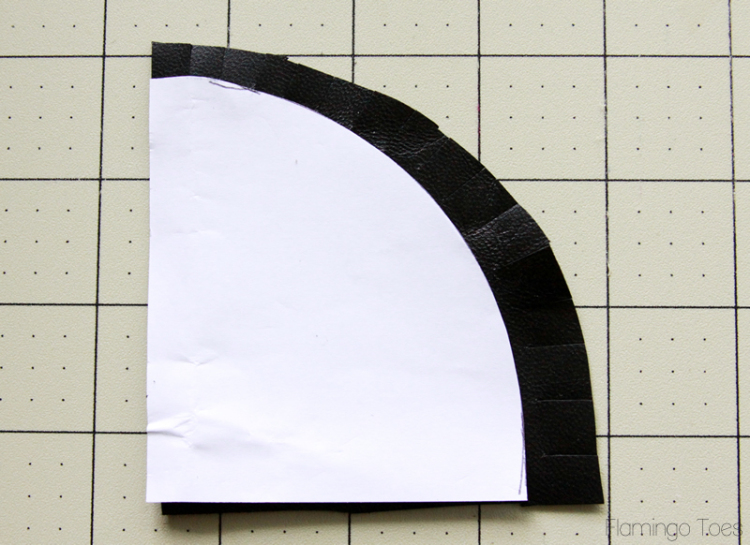
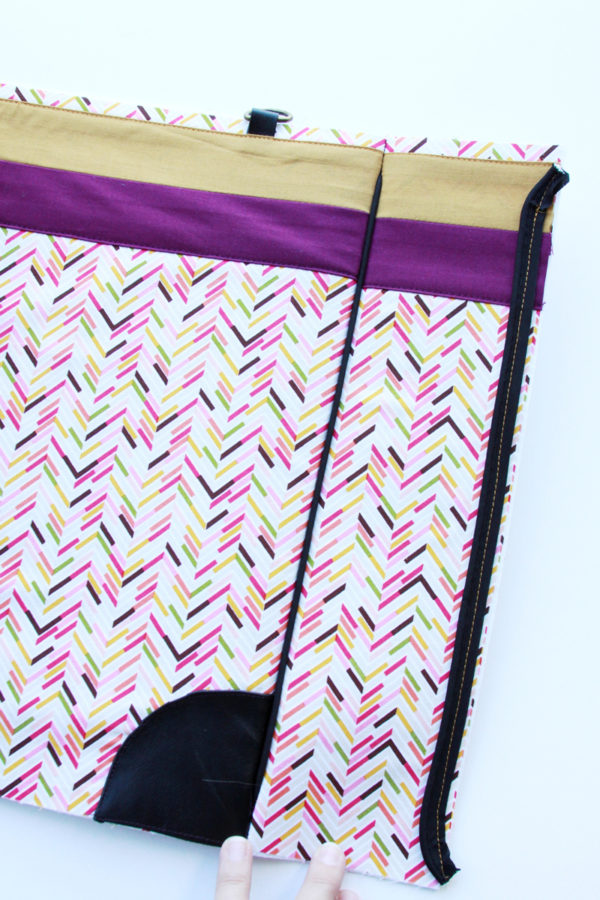
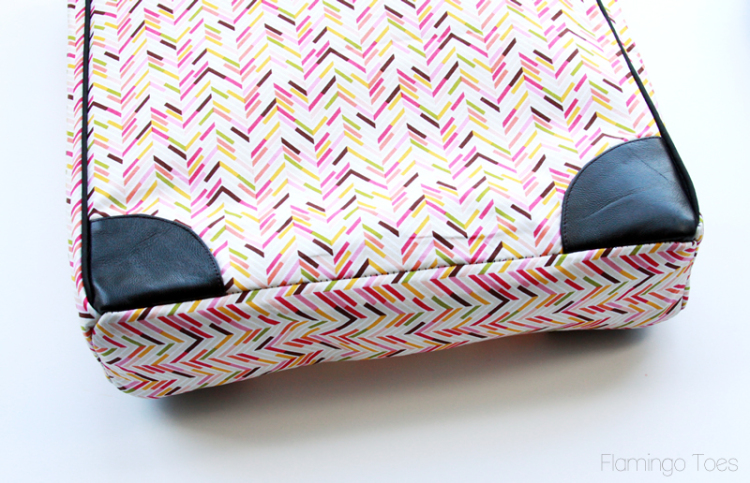
Use a small round bowl to create a pattern for the curve of your corner pieces. Trace the pattern onto paper and cut out four corner pieces from the leather. Make sure you flip the pattern for two of the pieces so the corners will face the correct way. Clip the curved edge of the leather piece so you can fold the edge over.

Leather Corner for Bag

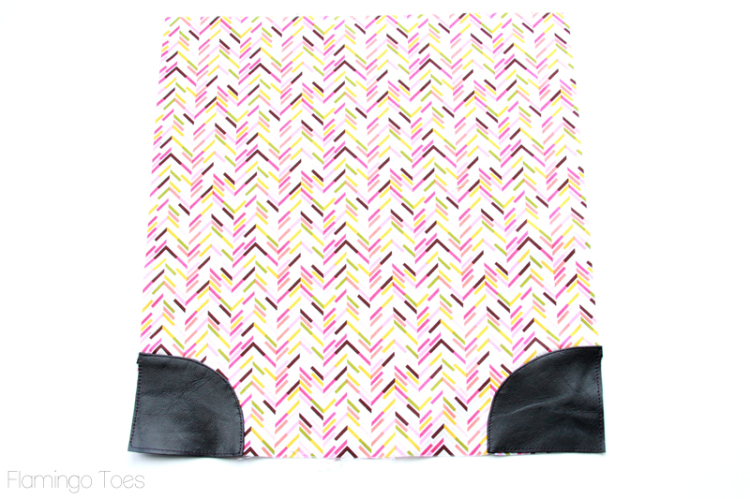
Line the side and edges of the corner pieces up with the bottom corner of the front piece. Fold the curved edge under and sew along the fold. Sew the other two sides down as well, to keep everything in place.

Sewing Leather Corners to Bag

Repeat for the back of the bag.

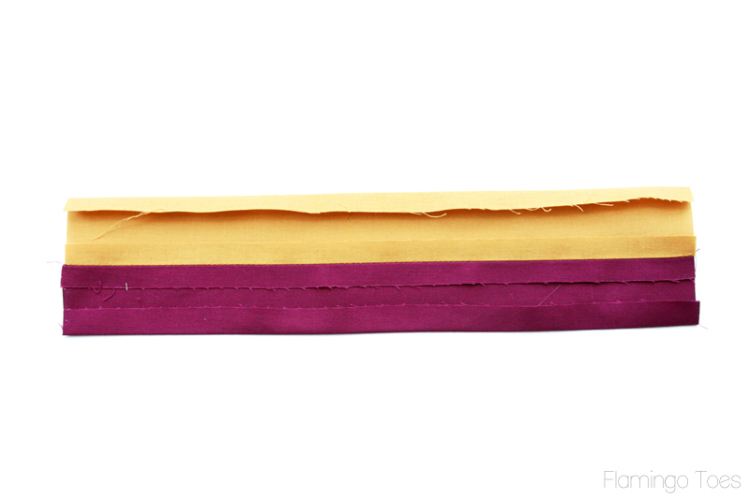
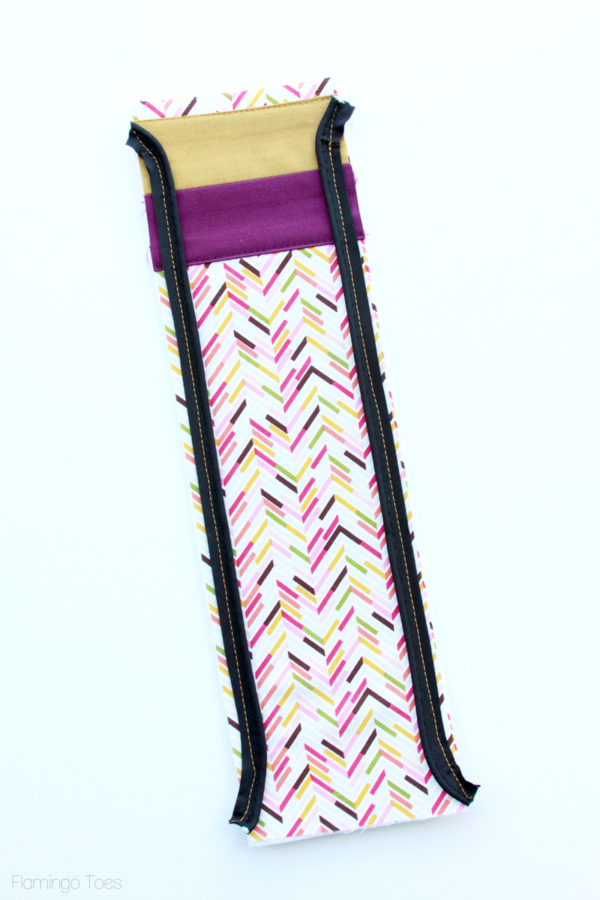
Sew the contrast bow pieces together for the back and sides. Press the top and bottom edges of the bow pieces to the back side, 1/2″ on each side. Sew the bow piece should measure 3″ tall.

Bow Fabric Stripes

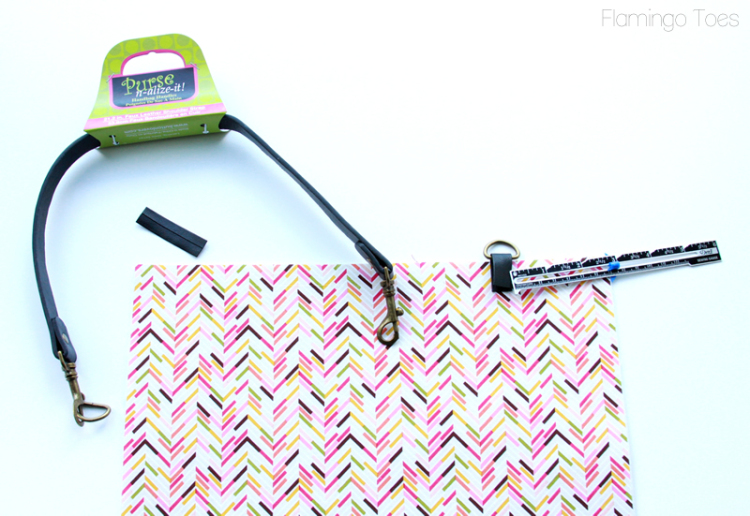
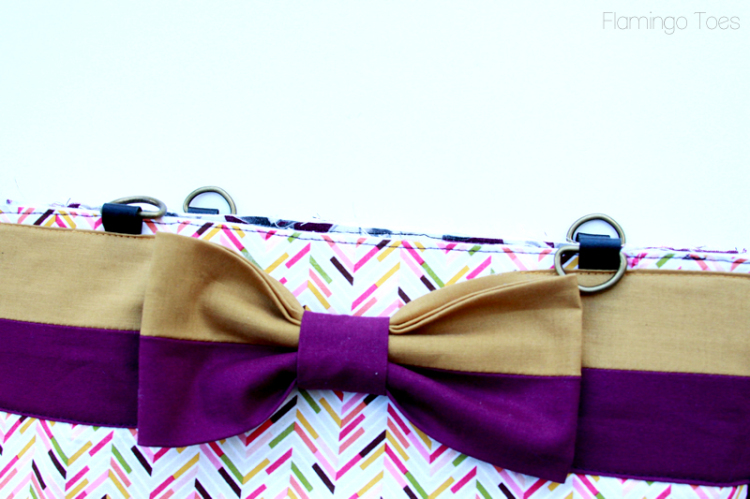
Cut two pieces of leather bias tape 2″ long each. Take the D ring off the purse handle end. Fold one of the bias tape pieces over the straight side of a d ring. Measure 2 7/8″ from each side and place the bias tape so that the d ring sits just above the edge of the fabric. Sew in place along the bottom of the bias tape. Repeat for the the other d ring, and for the back piece of the bag as well.

Attaching Purse Handles to Bag

For all the outside assembly, place the heavy-weight interfacing on the wrong side outside fabric pieces.

On the back of the bag, place the bow piece 1/4″ below the top edge of the fabric. Sew the piece down along the top and bottom. Use coordinating thread to make it more subtle.

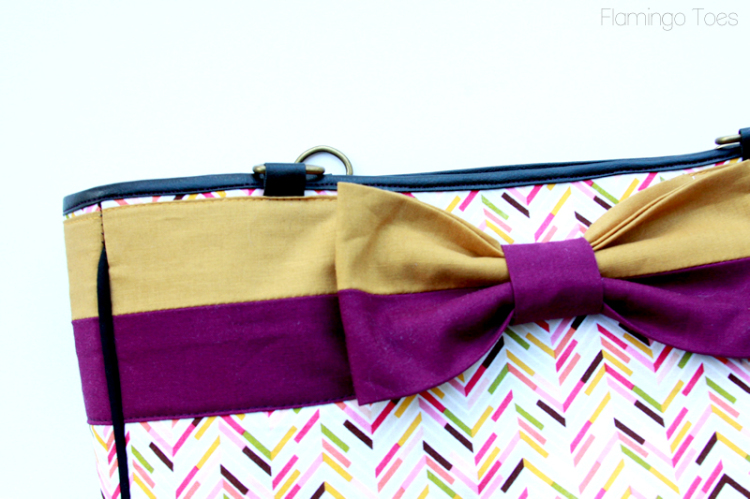
Sew the bow pieces on the sides as well, 1/4″ below the top. Lay the piping right side down along the edge of the side piece so the piping seam is 1/2″ from the side edge. Sew the piping in place with a 3/8″ seam, curving the piping in at the top and bottom. Repeat for the other side.

Sew Piping to Sides of Bag

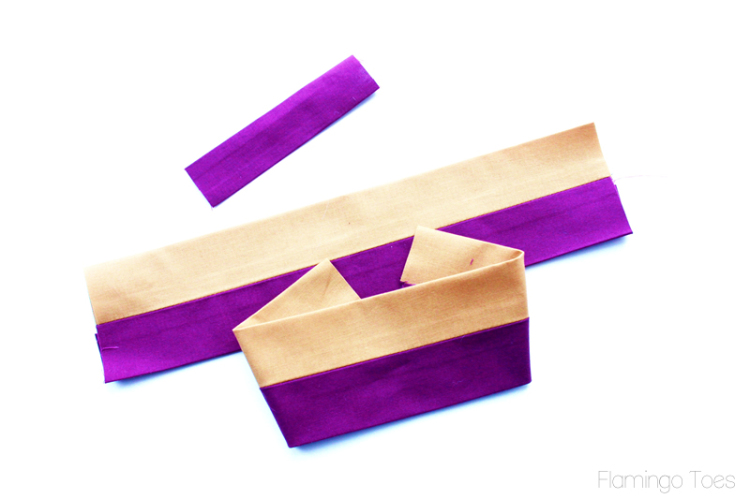
For the front bow piece, sew the 3 1/2″ bow pieces together. Press the long raw edges of one of the pieces to the wrong side, so the bow piece measures 3″. Repeat with the other piece then fold the short ends to the back. For the bow center fold the long sides in 3/8″ and press.

Bow Pieces for Bag

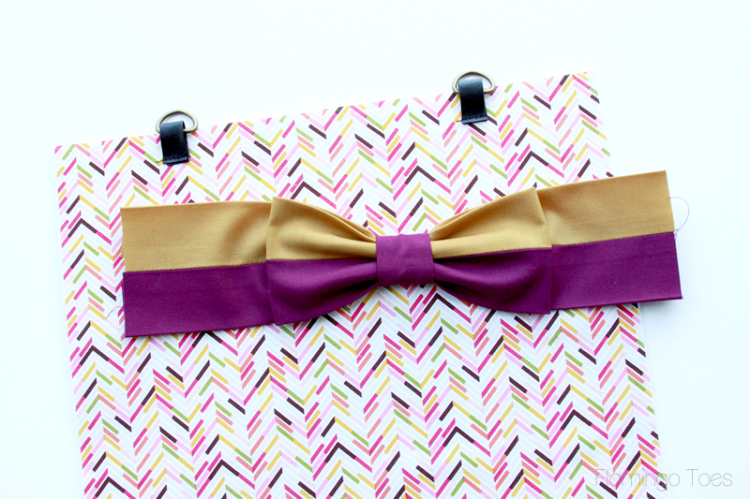
Place the bow piece in the center of the long strip, then fold the bow center around both pieces. Hand sew the center of the bow in place.

Sewing bow to front of bag

Place the bow piece 1/4″ below the top edge and sew the sides down 4″ from the side. Leave the center unsewn.

Sew the side pieces to the back, making sure the  bow sections line up.

Sewing Sides to Front

Repeat with the front, sewing the sides to the front. Place the bottom of the bag along the base and pin in place. Sew the bottom in place, easing around the corners.
Turn right side out.

Sewing Base to Bag

You should now have the entire outside of the bag sewn together, with the interfacing inside.

Outside of Bag

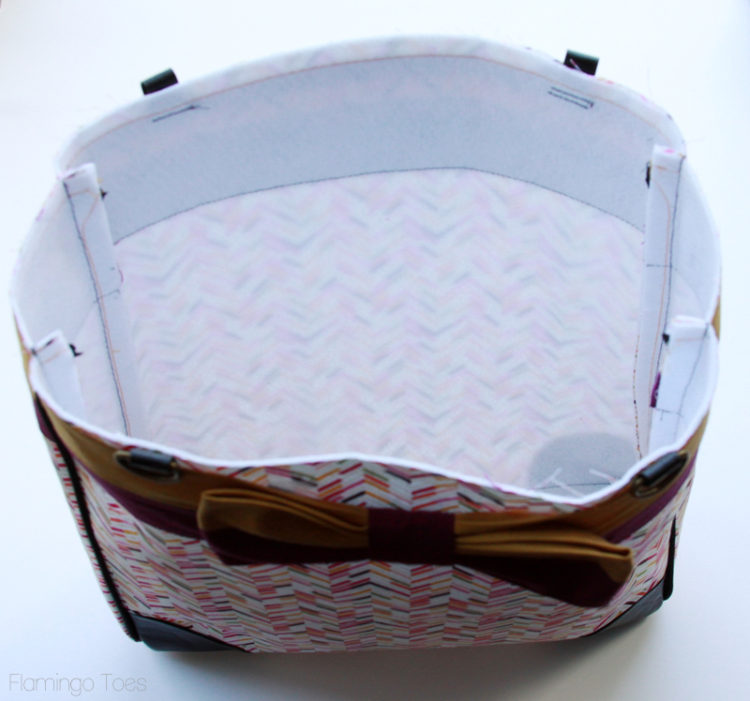
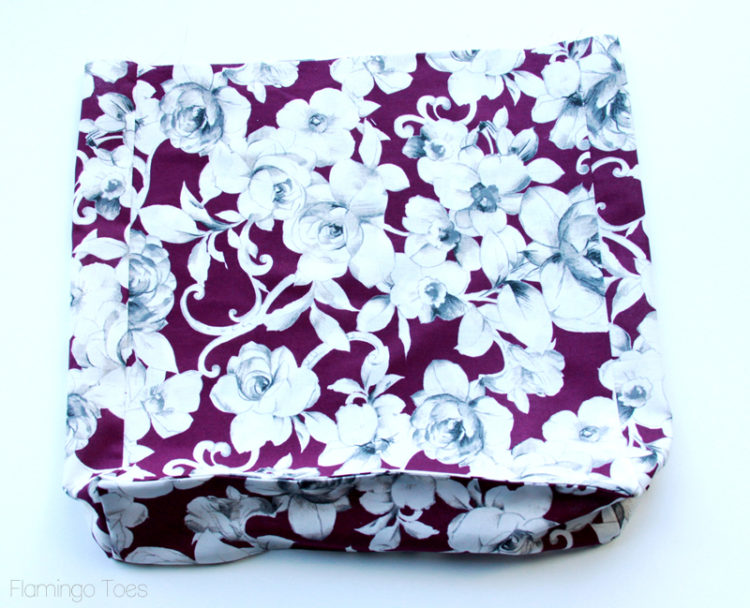
Sew your lining together by sewing the sides to the front and back, then sewing the bottom in place.

Inside Lining of Bag

Turn the lining so the right side of the fabric is on the inside. Tuck the lining inside and line it up with the top edge of the outside of the bag. Sew around the top, 1/8″ from the edge. Trim just to the edge of the sewing.

Basting top of Bag

Fold the leather bias tape over the top edge of the bag. Sew the tape in place, moving the straps with the d rings out of the way as you sew. Overlap the tape at the back of the bag.

Leather Binding on top of bag

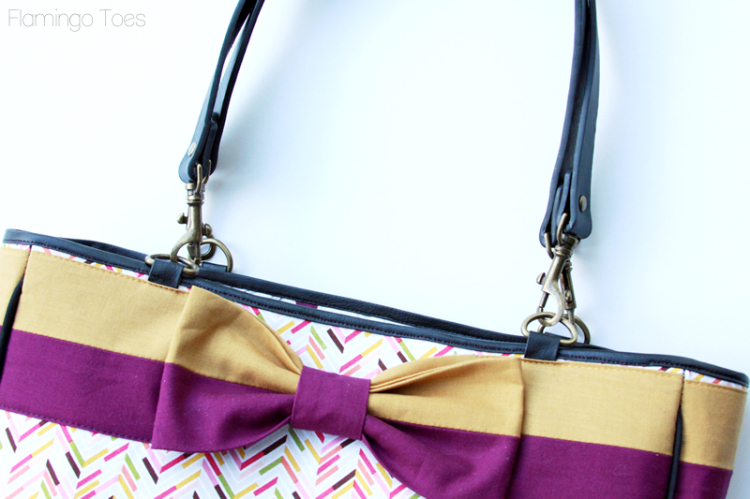
Clip the purse handles in place and you’re all finished!

Attaching Handles to Bag

I love how roomy the bag is – this will hold all kinds of fun stuff!

DIY Kate Spade Knockoff Bag

Lined Fall Tote

Fabric and Leather Tote Bag

۳۰ تیر ۹۴ ، ۱۰:۱۷ ۰ نظر موافقین ۰ مخالفین ۰
کار در خانه

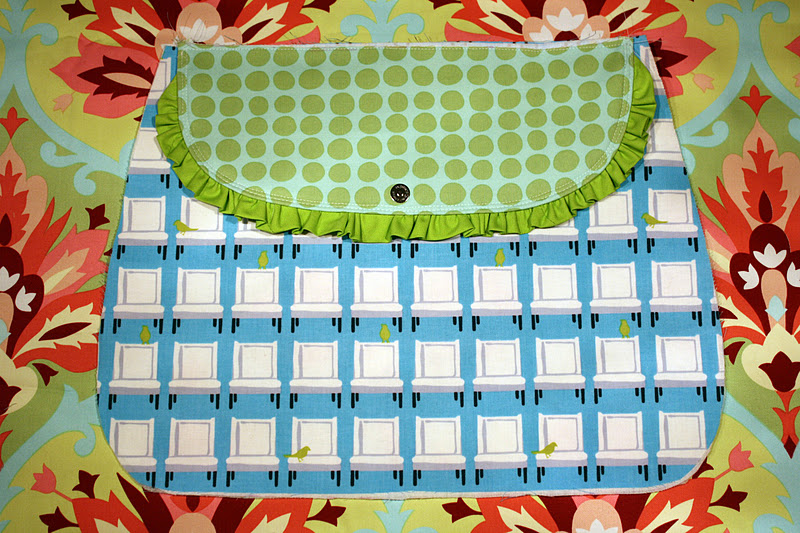
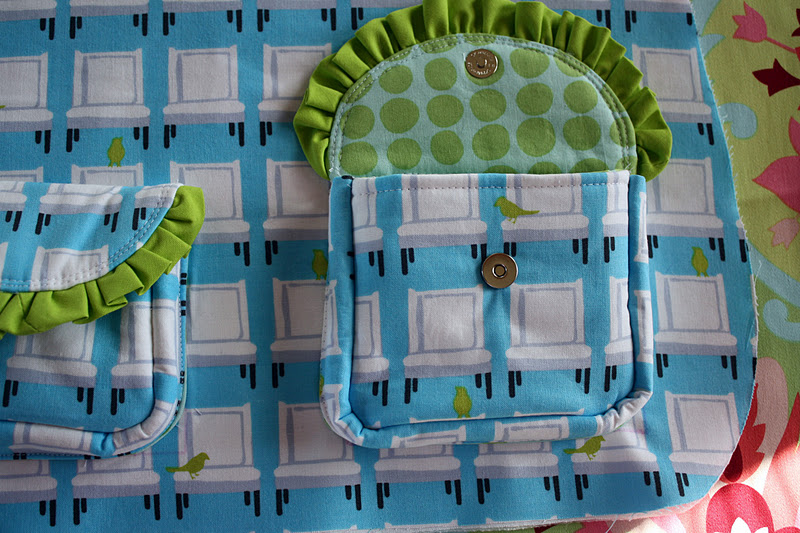
آموزش تصویری دوخت کیف پارچه ای رایگان همراه با آدرس سایت اصلی


SEAM ALLOWANCES ARE 1/2″ UNLESS OTHERWISE NOTED.

PLEASE READ ALL INSTRUCTIONS BEFORE BEGINNING.
 
Printable Pattern and Pattern Pieces


Finished size: 12″ tall x 16″ long


SUPPLIES
 
– 1 yard exterior fabric
– 1 yard interior fabric
– fat quarter of fabric for the ruffles
– 3-1/2 yards of Pellon SF-101 fusible woven interfacing
– 1-1/2 yards of Pellon fusible fleece
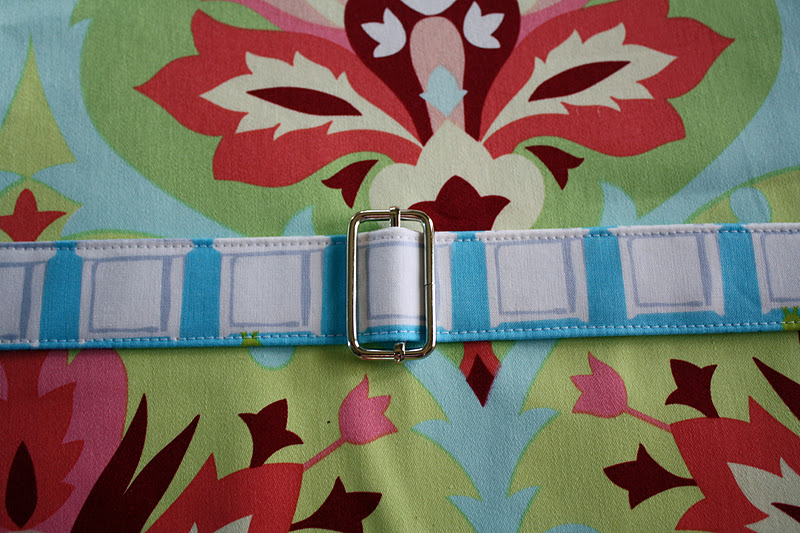
– metal slider and rectangle ring (1-1/2″)
– three 1/2″ magnetic snaps
– ruler
– fabric marker or chalk*if you have difficulty locating the metal slider and rectangle ring, you can find them here.


آدرس سایت اصلی
 
 
STEP 3 ~ ASSEMBLE THE STRAP

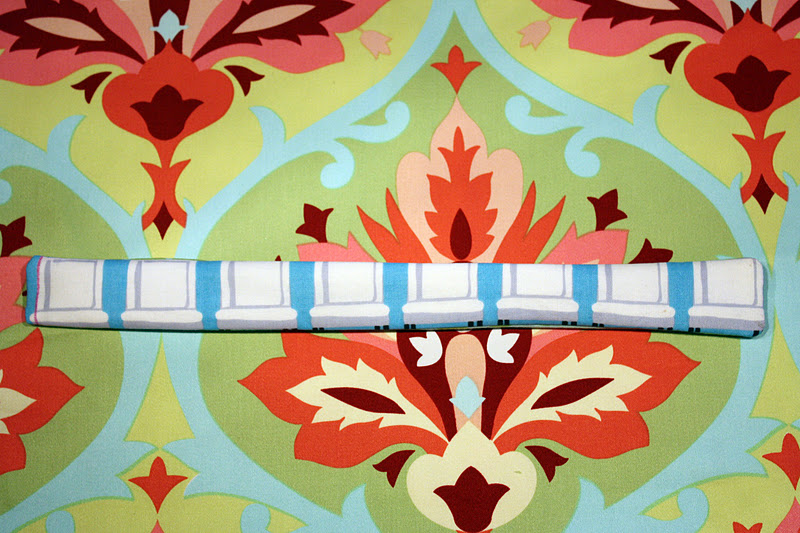
3a. Fold your Strap in half along the long edge. Press. Fold the bottom long edge of the strap up toward the creased center. Press. Also fold down the top long edge of the strap down toward the creased center. Press.

3b. Topstitch along both long edges, 1/8″ from each edge.

3c. Repeat Steps 3a. and 3b. for the Strap Extender.


STEP 4 ~ ASSEMBLE THE FLAPS

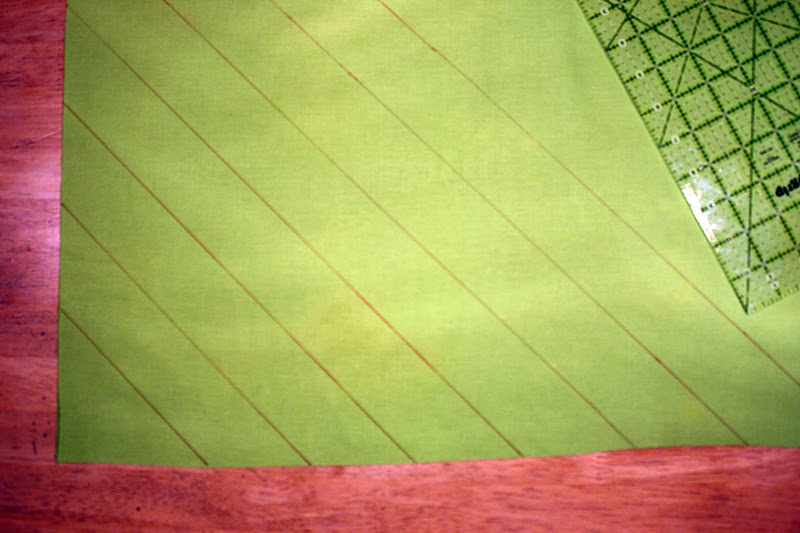
4a. Lay your fat quarter out in front of you. You are going to cut bias strips from the fabric, so use your ruler to cut 2″ strips at a 45 degree angle, across the entire fat quarter.

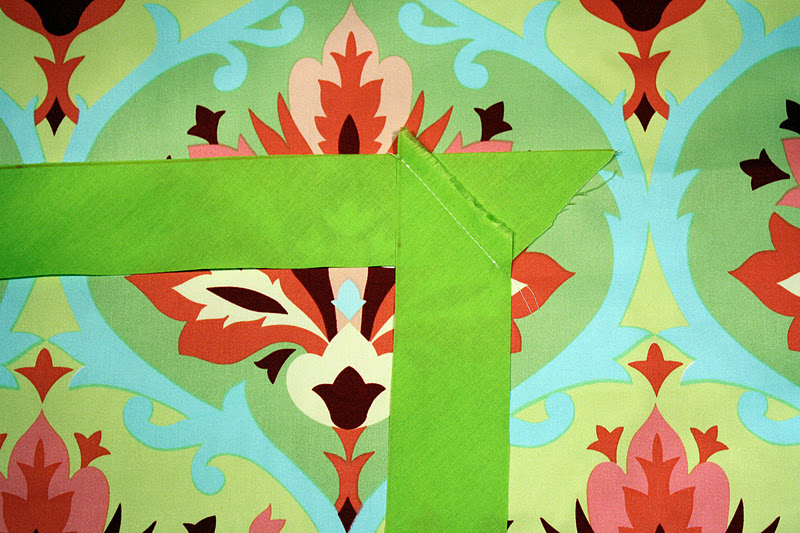
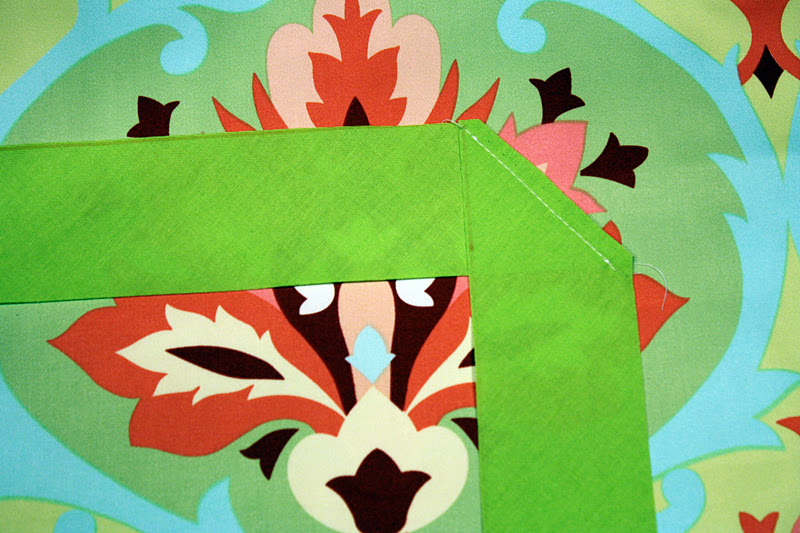
4b. Now you will sew all of your strips together. First attach 2 strips, right sides together, at a 90 degree angle. Draw a diagonal line (at 45 degrees) connecting the top left and bottom right corners, then stitch on the line.

4c. Trim the ‘tail’ from the strip. Trim your fabric down to a 1/4″ seam allowance, then press seam open. Continue adding strips until you’ve used them all.

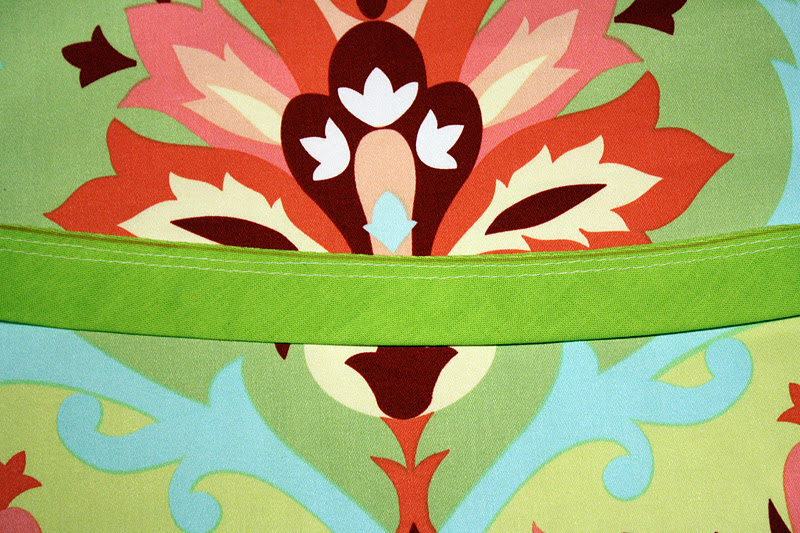
4d. Press your newly-made bias strip in half length-wise. Trim your bias into one 46″ strip and two strips that are each 24″ long. Now you are going to gather the fabric to create the ruffles. Sew a row of basting stitches that are 1/8″ from the raw edge, and another row of basting stitches that are 1/4″ from the raw edge.

4e. Gently pull the thread on each side to gather your fabric. Gather the fabric until the longer strip now measures 23″, and the shorter strips should now measure 12″. Evenly distribute the gathers. Set aside.

4f. Take your Interior Large Flap. Fold it in half, lengthwise, and lightly finger press the crease. Make a mark with your fabric marker that is 1″ up from the curved edge, and that intersects the center crease.

4g. You will be using the smaller half of the magnetic snap. Take out the washer and place it on the mark that you made on the Interior Flap. Make a mark, using the washer, where the slits are to go. Use your scissors and cut small slits where the marks are. Repeat this for the center of one of your 2″x2″ scraps of fleece. The reason that you are using the fleece is that it will help to reinforce your fabric against the pull from the magnetic snap every time you open and shut the flap.


Helpful Hint: I like to put a dab of Fray Check on the slits that were cut. I feel this helps the fabric hold up a bit better under the stress of the magnetic snap.

4h. Slide the prongs of the snap through the right side of the Interior Large Flap. Place the fleece square, then the washer, over the prongs. Close the prongs outward (use pliers with a piece of scrap fabric over the metal, if you need to), making sure they lie flat.


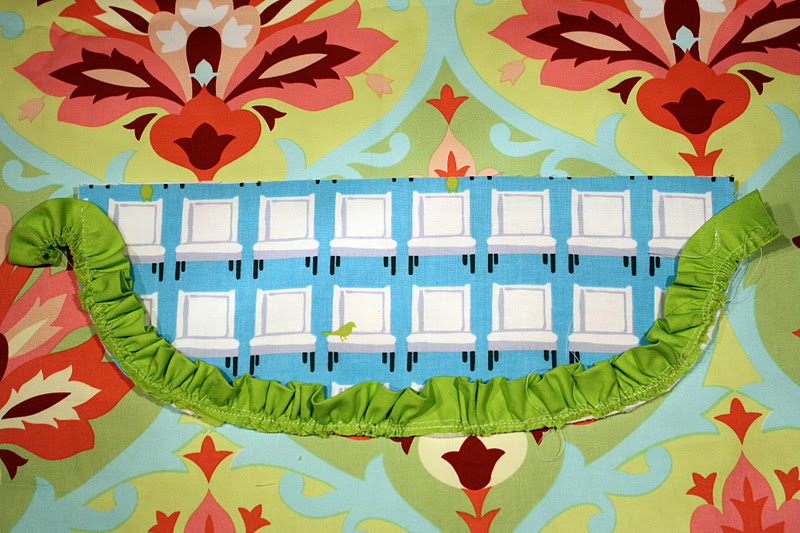
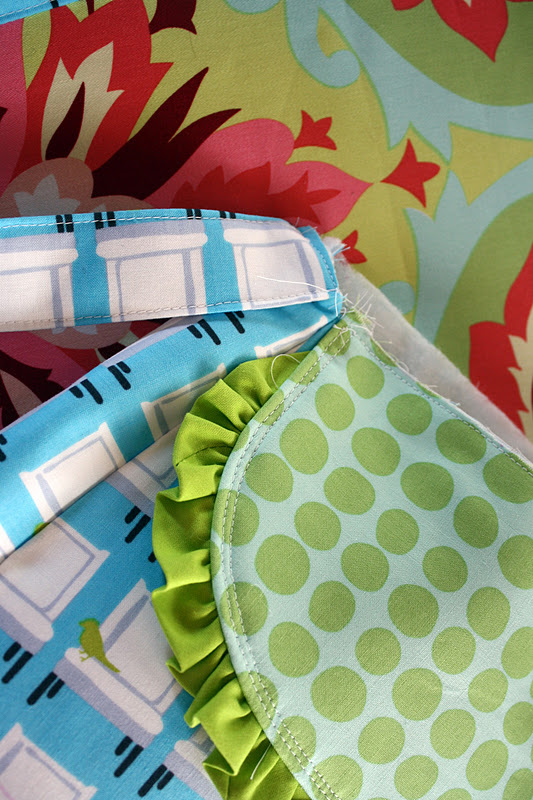
4i. Take the long ruffle and pin it along the curved edge of the Exterior Main Panel. Begin the short edge of the ruffle 1/2″ from the corner of the Exterior Main Panel. The raw edge of the ruffle should be even with the curved edge. You will also want to “fade” each short edge of the ruffle toward the outer corner of the flap so that you will have no raw edges from the ruffles showing once both flap pieces are sewn together. Stitch along the curved edge using a 1/4″ seam allowance. Trim excess ruffles.


4j. Take your Exterior Large Flap and your Interior Large Flap, and place them right sides together. Sew along the curved edge, slightly to the left of the line of stitches from step 4j. in order to hide the previous stitch (do not sew the straight edge). Notch your seam (cutting small v’s every 1/2″), being careful not to cut into the stitching. Turn your fabric right side out and press.


4k. Topstitch the Flap, 1/4″ from the edge, along the edge that you sewed in Step 4j.

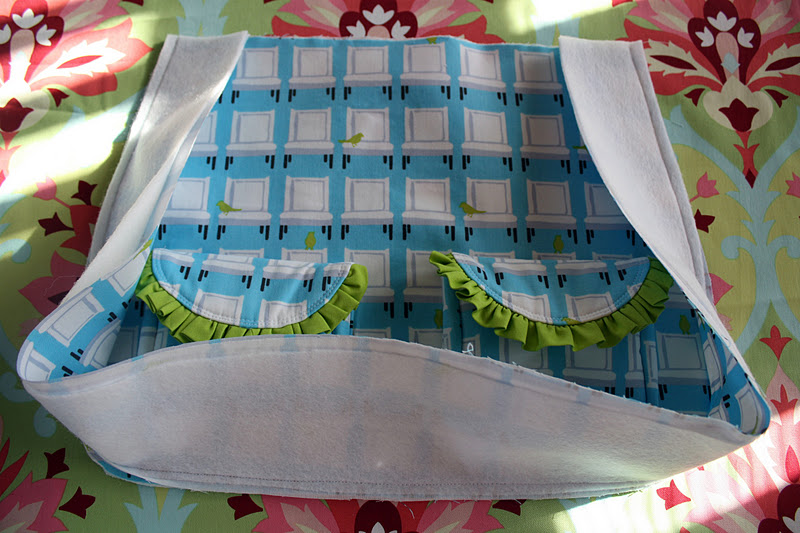
4l. Repeat Steps 4f. through 4j. for the Small Flap pieces, except you will be sewing 1″ past the corner and into the straight edge and trimming the corners, leaving a small opening.


4m. Turn your fabric right side out and press. Also press the opening in by 1/2″. Topstitch both Small Flaps on the curved edge, 1/4″ from the edge.
 
 
STEP 5 ~ ASSEMBLE THE EXTERIOR SMALL POCKETS

5a. Take 1 of your Exterior Small Pocket pieces and the larger half of the magnetic snap. Fold the Exterior Small Pocket in half along the 6″ edge. Measure down 2″ from the top and insert the snap using the same method that you did for the flaps. Repeat for the other Exterior Small Pocket.


5b. Take 1 Exterior Small Pocket and 1 Interior Small Pocket and place them, right sides together. Beginning on the 6″ side (the side with the snap closest to it), about 1″ from the corner, start your stitching. Pivot at the corners, sewing 3 sides. Pivot at the last corner, then sew up about 1″. You will be leaving one 6″ edge open about 4″. Trim all 4 corners.

5c. Turn your fabrics right side out. Press, making sure to also press the opening in by 1/2″. Topstitch along the 6″ edge with the opening, with a 1/4″ seam allowance. This will seal your opening closed.


5d. Repeat Steps 5b. and 5c. for the other Small Pocket pieces.

5e. Take 1 Exterior Pocket Panel and 1 Interior Pocket Panel and place them, right sides together. Beginning on the 13-1/2″ side, about 5″ from the corner, start your stitching. Pivot at the corners, sewing 3 sides. Pivot at the last corner, then sew up about 5″. You will be leaving one 13-1/2″ edge open about 3-1/2″. Trim all 4 corners.

5f. Turn your fabrics right side out. Press, making sure to also press the opening in by 1/2″.

5g. Take 1 Small Pocket and 1 Pocket Panel. Place them, exterior sides facing. You will be sewing the long edge of the Pocket Panel flush with the 3 edges of the Pocket (the edge with the topstitching will be at the top, and you will leave this edge alone). Also, sew the side of the Pocket Panel so that you will sew the opening closed in this step. Sew using a 1/4″ seam allowance. Press seam toward the Small Pocket. Repeat for the remaining Small Pocket and Pocket Panel.


Helpful Hint: I recommend sewing both of the sides of the pocket first, then the bottom and corners, in order to distribute the Pocket Panel evenly.

5h. Now take out 1 Exterior Main Panel and 1 assembled Small Pocket. Measure on the Exterior Main Panel that is 1-1/4″ up from the bottom, and over 2″. Draw a rectangle that is 4″ high x 5″ long, with the bottom left corner at your point. Flip your Pocket Panel exterior side out. Place the Small Pocket between these lines and pin.

5i. Sew along the unsewn long edge of the Pocket Panel using a 1/8″ seam allowance (you will be sewing the interior of the Pocket Panel against the Exterior Main Panel). This will attach the Pocket to the Exterior Main Panel. When finished, the Pocket should stand away from the Exterior Main Panel (it should not be completely flat).

5j. Repeat Steps 5h. and 5i. for the remaining Pocket Panel and the right edge of the Exterior Main Panel.


STEP 6 ~ ATTACHING THE FLAPS


6a. Take your Large Flap and the Exterior Main Panel that doesn’t have the pockets. Place the raw edge of the Large Flap against the top edge of the Exterior Main Panel, with the exterior fabrics touching. The Large Flap should be centered. Pin. Sew along the pinned edge with a 1/4″ seam allowance.

6b. Now take 1 of your Small Flaps and the Exterior Main Panel with the pockets. Pin the Small Flap at the top of the Small Pocket, with the straight edge of the Flap flush with the top of the Small Pocket. The exterior fabric of the Small Flap should be facing the Exterior Main Panel (in other words, the magnetic snap should be facing you). Before you begin to sew, make sure that your flap looks straight after the magnetic snaps have closed; if not, make an adjustment. Topstitch the straight edge of the Small Flap 1/4″ from the edge. Repeat for the other Small Flap and Small Pocket.

STEP 7 ~ ASSEMBLE THE EXTERIOR 

7a. Take the Exterior Main Panel with the pockets on it. Fold the Exterior Main Panel in half, pressing a finger crease to find the center point. Then measure down from the top 3-3/4″. Make a mark intersecting that point and the center point. Insert the large half of a magnetic snap using the technique that you used earlier.

7b. Take the Exterior Side Panel. Fold in half along the short edge. On the right side, make a mark 9″ down from the short raw edges, and a mark in 3/4″ from that raw edge. Connect the two marks that you made with a line. Repeat for the left edge.

7c. Cut along the lines on the right and the left sides.

7c. Take 1 of the Exterior Main Panels and place it, right side facing you. Place the short edge of the Exterior Side Panel at the top of the Exterior Main Panel, right sides facing.

7d. Begin pinning the Exterior Side Panel to the curved edge of the Exterior Main Panel, easing it along. Continue until you reach the opposite top edge of the Exterior Main Panel.

Helpful Hint: If you have difficulty pinning along the curve, try leaving it unpinned and just easing it along slowly with your fingers.

7e. Sew along the pinned edge. Notch along the curved edge (cut small v’s), every 1/2″. Be careful not to cut into the seam allowance. Press the seam open.

7f. Repeat Steps 6a. through 6c. to attach the remaining Exterior Main Panel to the other long edge of the Exterior Side Panel.

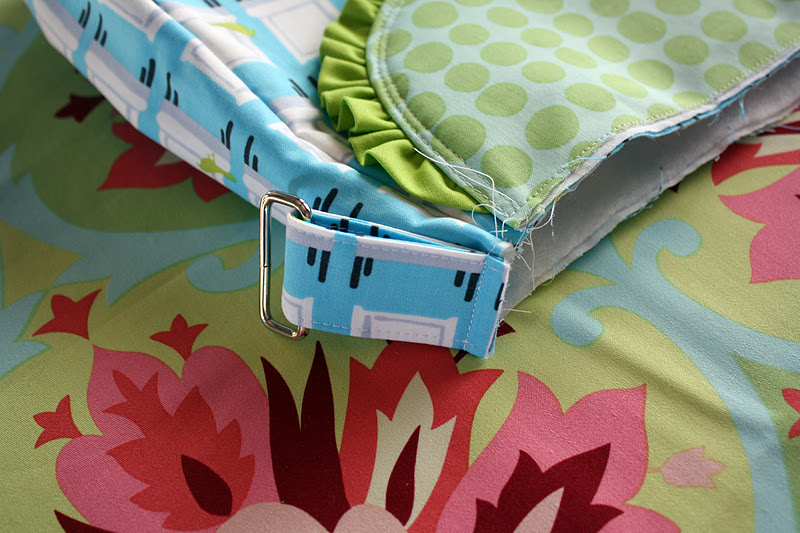
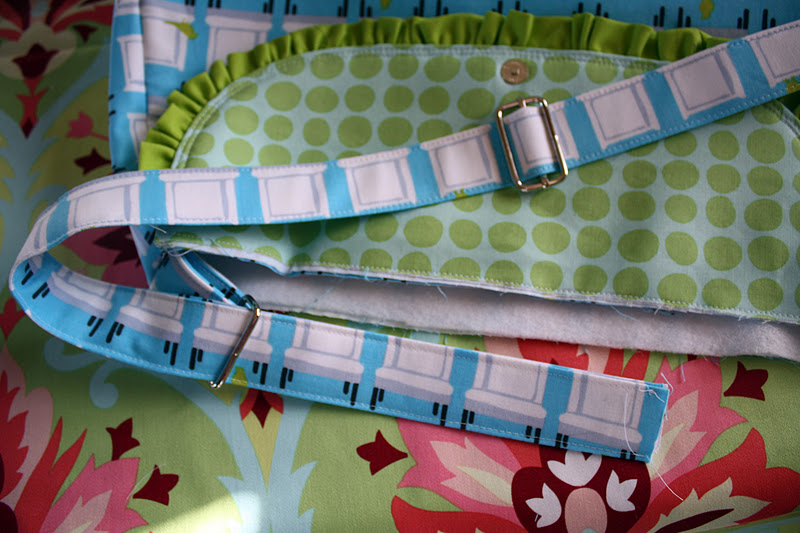
7g. These next few steps will help you install your metal slide and rectangle, which will make your strap adjustable! If you have never done this before, after today, you will want to use this every single time, it’s that easy! First take the metal rectangle and slide it onto the middle of your Strap Extender. Place the Strap Extender against the Exterior Side Panel (I started with the left side of my bag, but either is fine). Baste in place using a 1/4″ seam allowance.

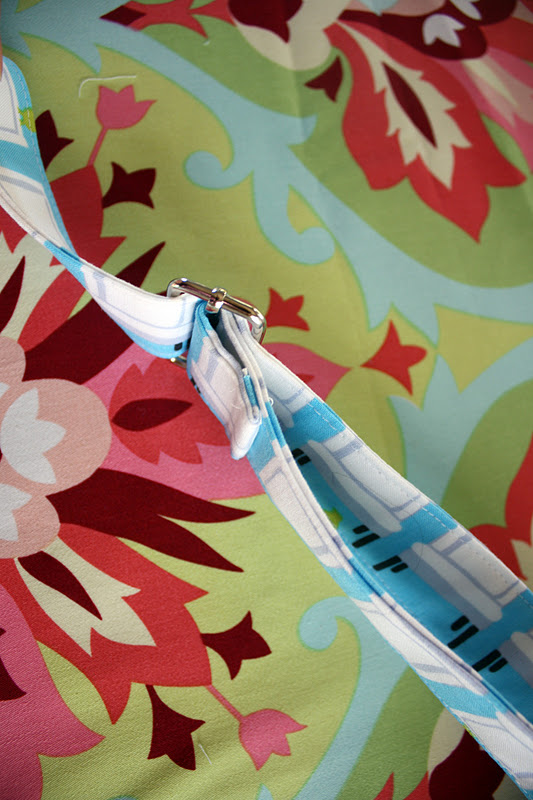
7h. Next, take your Strap and slide it through the metal slide. The strap should go over and under the metal bar in the middle, as pictured.

7i. Baste one end of the Strap to the other Exterior Side Panel (this time I did the right side), using a 1/4″ seam allowance.

7j. Slide the loose part of your Strap through the metal rectangle (that’s the part attached to the Strap Extender).

7k. Now slide that loose part of the strap over and under the metal bar on your slide. It is going to go underneath the part of the strap that you had placed through the slide previously. Fold about 1/2″ of the very end of the strap under and topstitch that end. Hopefully you can see by the photo which part to sew where. If you can’t adjust your strap, then you’ve sewn something on to the wrong place.

STEP 8 ~ ASSEMBLE THE INTERIOR

8a. Take 2 of your Inner Pocket pieces and place them, right sides together. Sew along the straight edge only.

8b. Press the seam open. Turn the fabrics so that they are wrong sides together, press again, and topstitch the straight edge, 1/4″ from the edge.

8c. Take 1 Interior Main Panel, and place the Inner Pocket that you just sewed, with the bottom edges of both even. Baste the Inner Pocket to the Interior Main Panel using a 1/4″ seam allowance. Finger press a crease down the center of your Interior Main Panel. Sew on top of the Inner Pocket only, down that center crease (this will divide your pocket into 2 sections).

8d. Repeat Steps 8a. through 8c. for the remaining Inner Pocket and Interior Main Panel.

8e. USING A 5/8″ SEAM ALLOWANCE (this will help the interior sit snuggly in the exterior), repeat Steps 7a. through 7f. to attach the Interior Main Panels to the Interior Side Panel. HOWEVERmake sure to leave a 6″ opening when attaching one of the Interior Main Panels to the Interior Side Panel (it is best to leave the opening at the bottom of the bag). This will help you turn your bag right-side out later.

STEP 9 ~ FINISHING THE BAG 

9a. With the Exterior right sides out and the Interior wrong sides out, place the Exterior inside the Interior. Be sure to push the Strap and Flap inside between the layers.


9b. Pin, making sure to match side seams. Sew all along the top edge.
 
9c. Turn the bag, right side out, through the opening in the Interior.
 
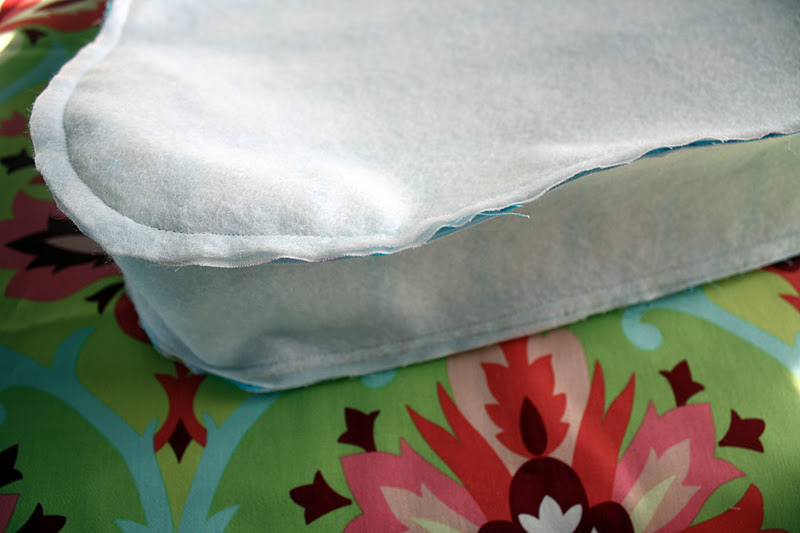
9d. Sew the opening in the Interior closed, either with a 1/4″ seam, or sew by hand.
 
9e. Press well. The key to a professional-looking bag is a good pressing!


CONGRATULATIONS! You’ve finished!!


۳۰ تیر ۹۴ ، ۱۰:۱۳ ۰ نظر موافقین ۰ مخالفین ۰
کار در خانه

آموزش کیف پارچه ای با تصویر

از متن های انگلیسی نترسید

به شکل ها دقت کنید

از آدرس زیر می توانید دهها سایت رایگان آموزشی را پیدا کنید که طرح کیفهای جدید را به شما آموزش می دهد

http://pursepatterns.com/free_bag_patterns.html

 این الگو را هم از دست ندهید

که

با پی دی اف و به صورت تصویری آموزش می دهد

http://www.fabricbuffet.com/images/pt_pickapkt_bag_pdf.pdf


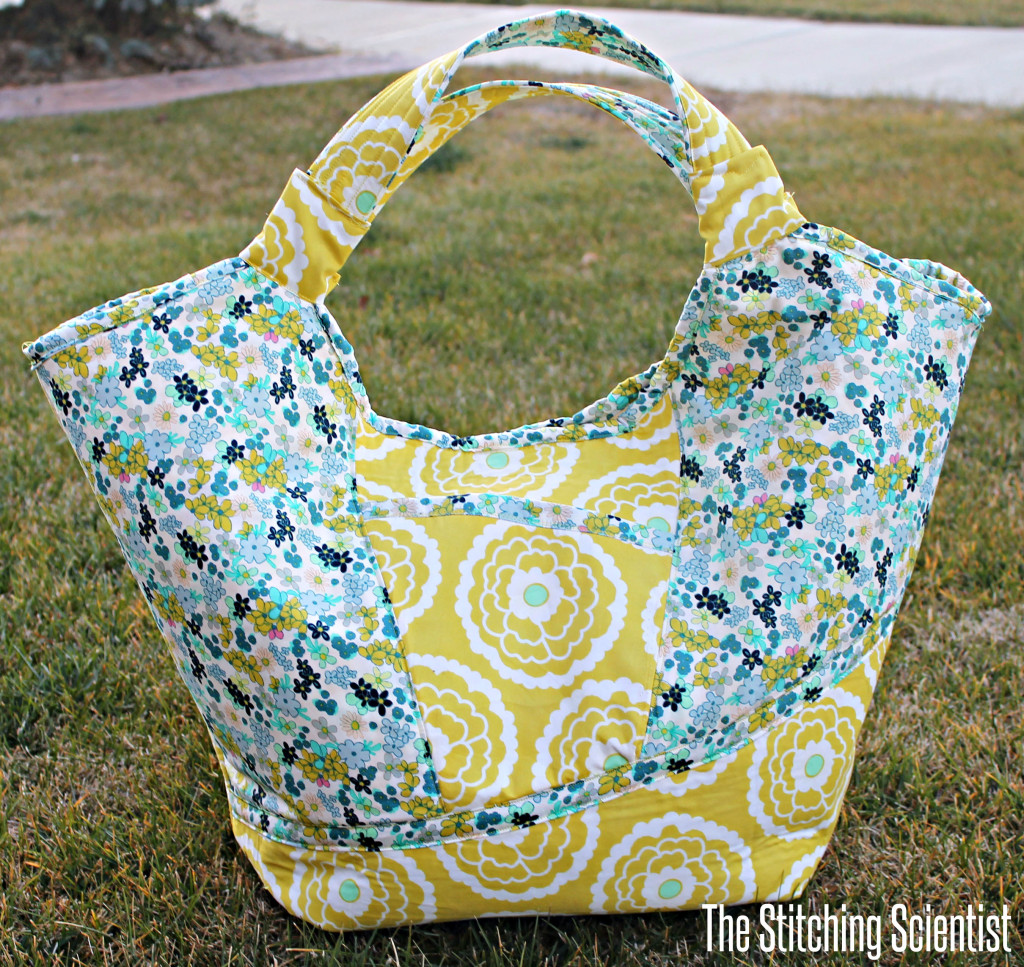
IMG_2147

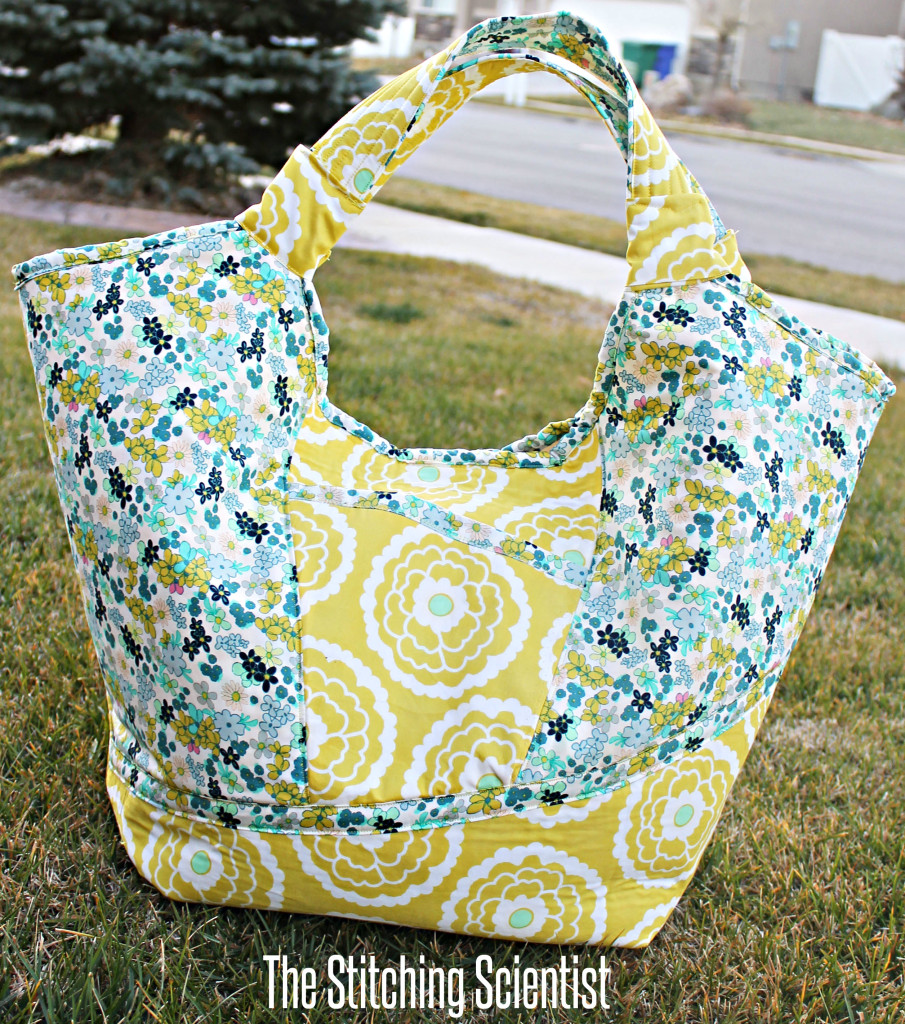
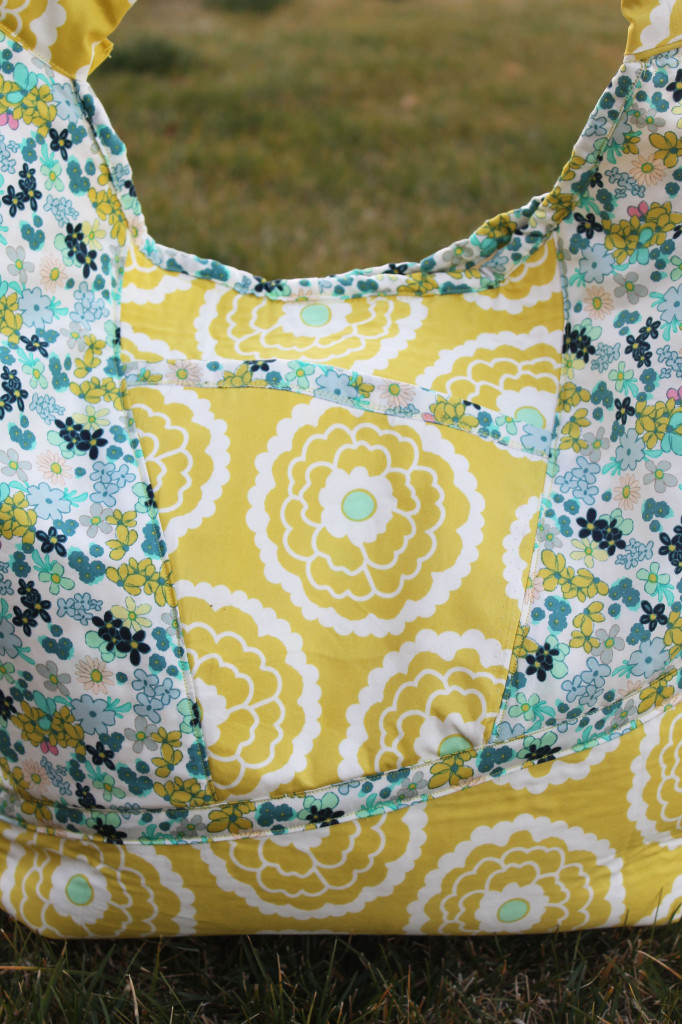
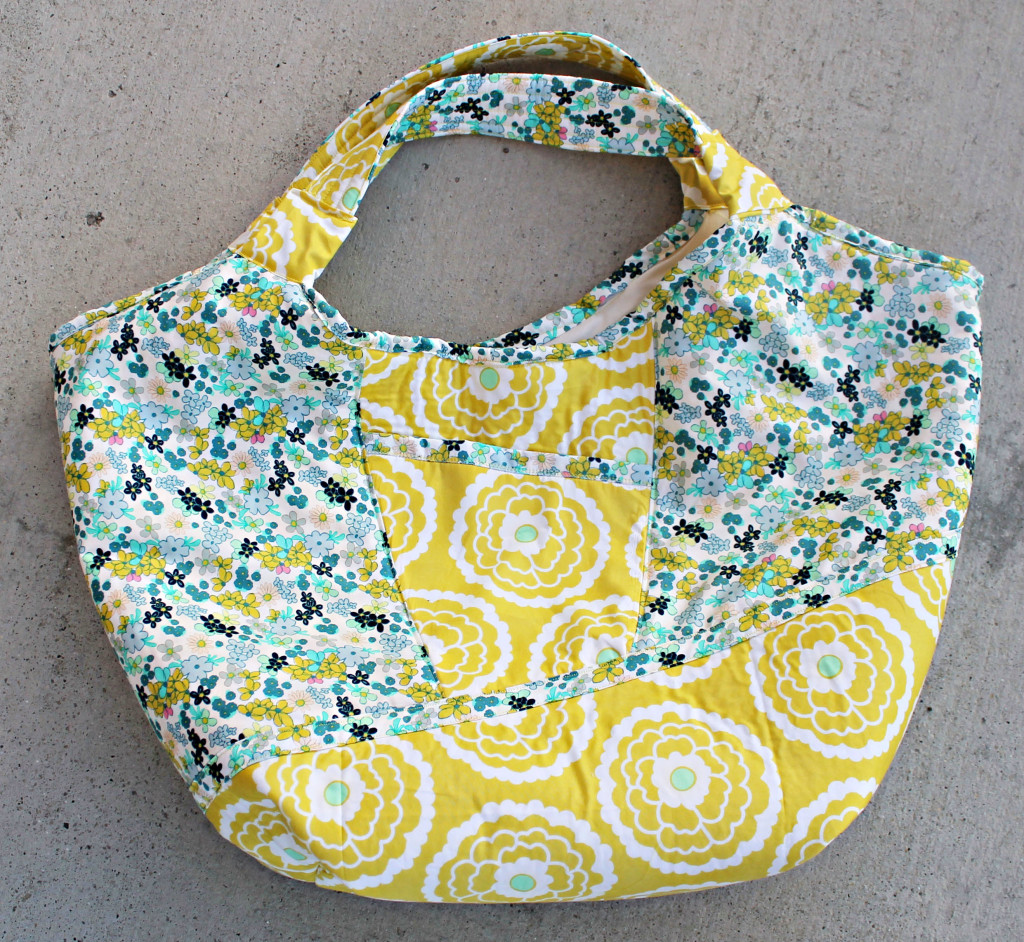
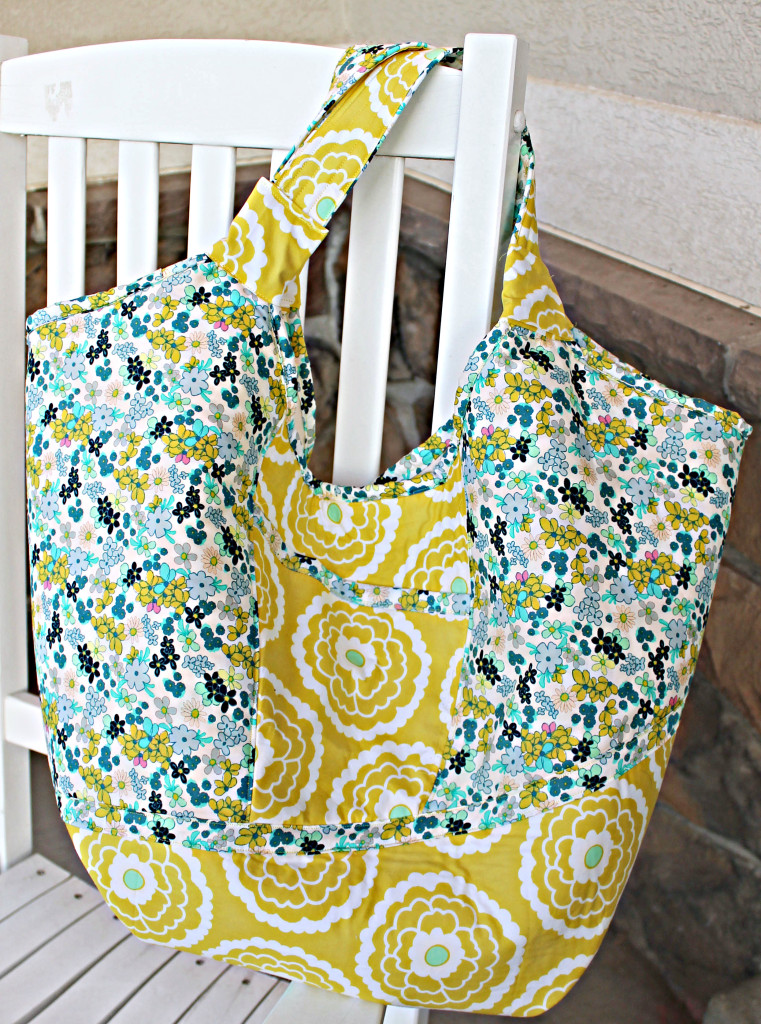
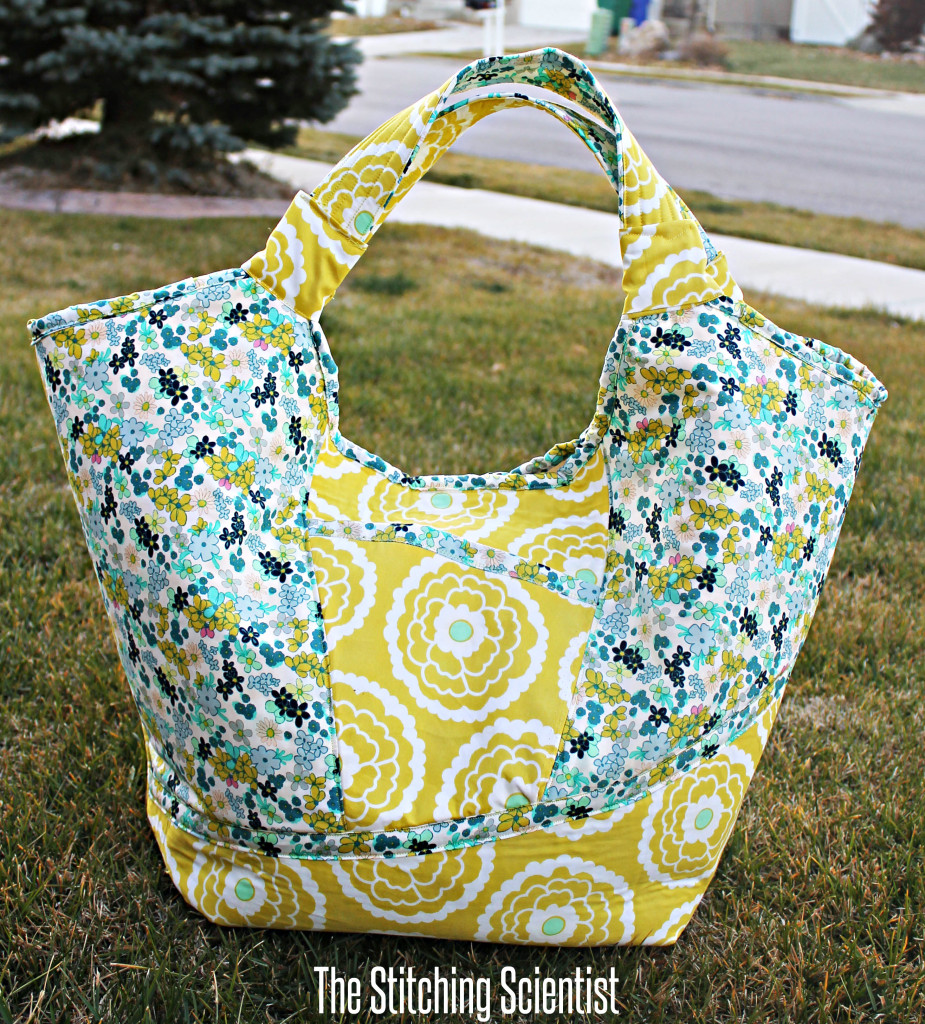
It is freezing in the Mid-west so I ran outside, set the bag on the lawn and took as may pics as I could before shivering:-), so sorry for the street background. I couldn’t decide on which ones to use, so I am showing you all the pictures I took:-)

IMG_2155

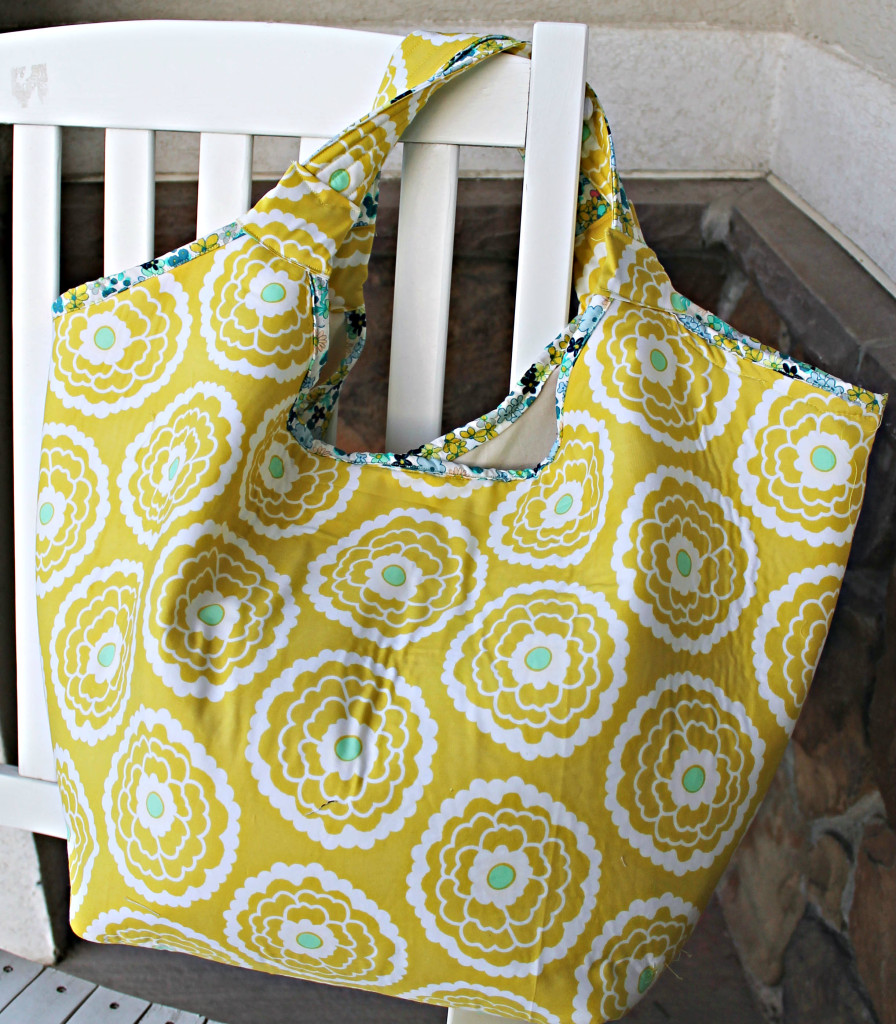
I decided not to put a closure on the bag since it seamed to hold up pretty well when filled. I may add a flap or Velcro later but for now, I think its functional as is. Here is what the back looks like with just the Girl about town lime fabric design. I think the big floral pattern worked well as the main fabric for the bag.

IMG_2159

I initially thought about doing one large pocket in the front and then overlaying the pocket but changed my mind last minute. I think the little pocket in the middle brings out the beauty in the Ladylike green tea fabric pattern.

IMG_2152

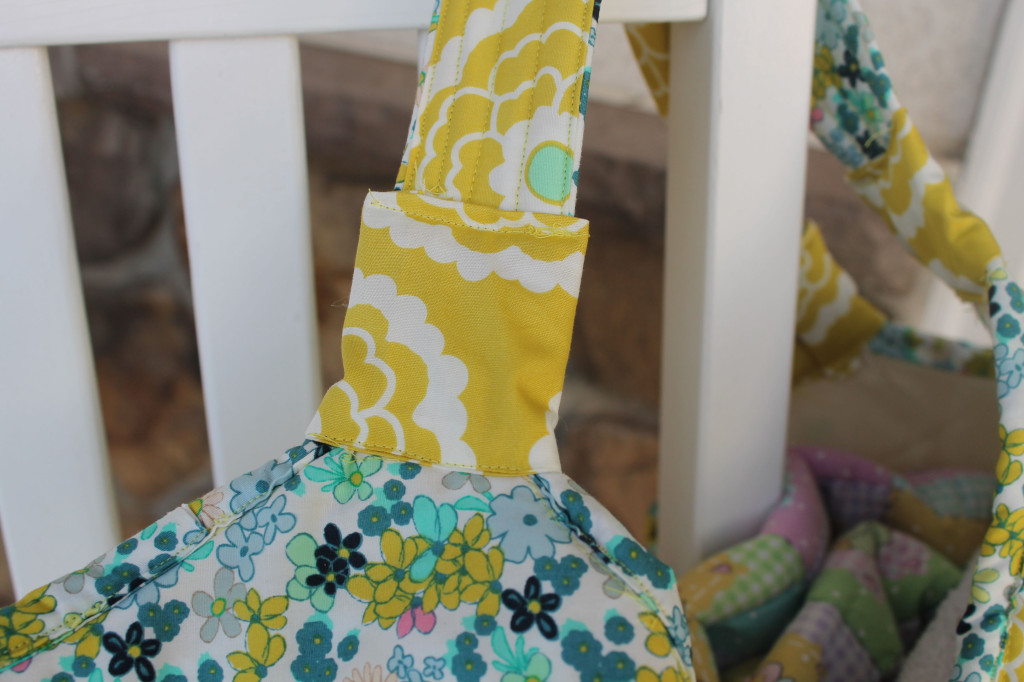
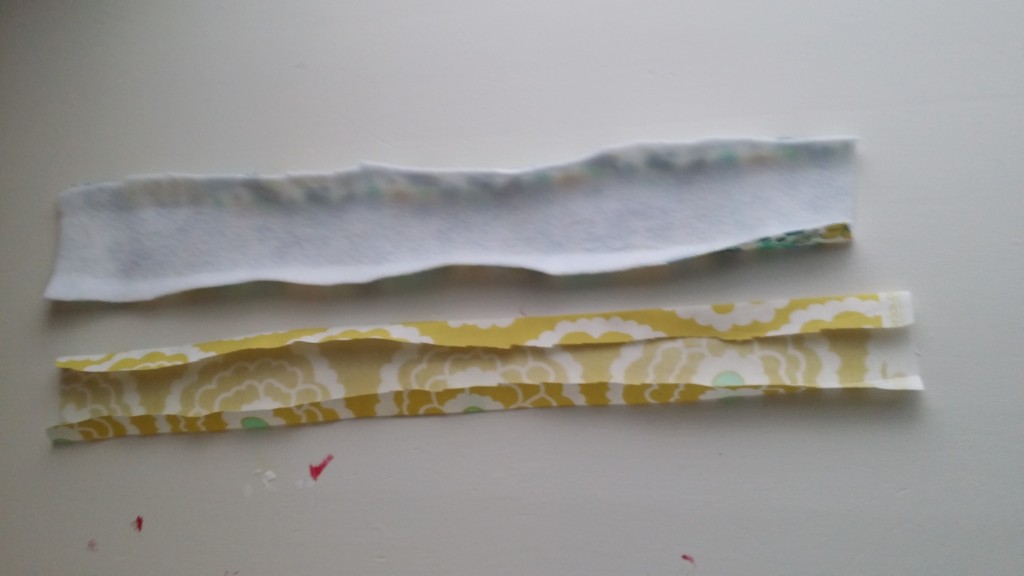
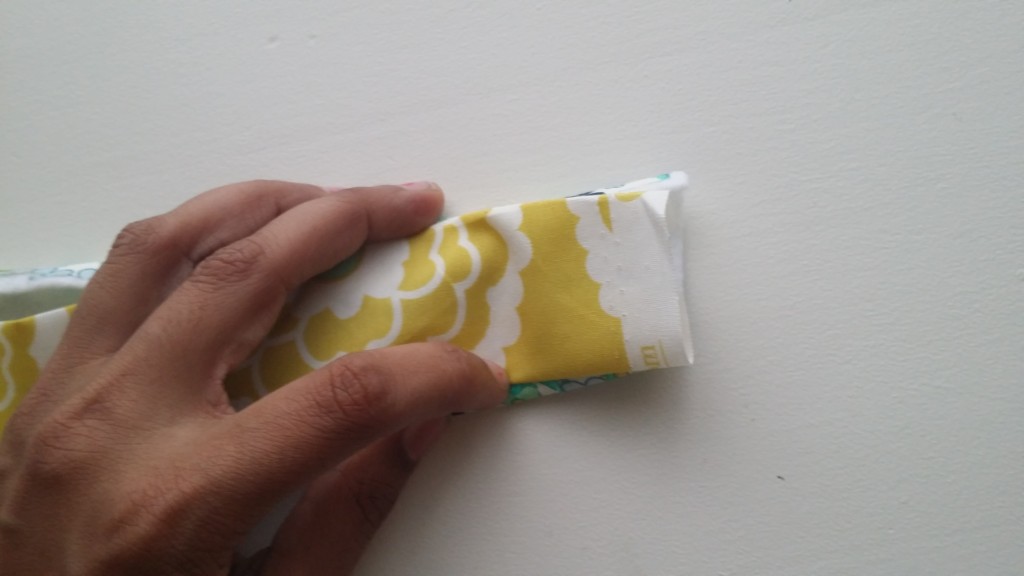
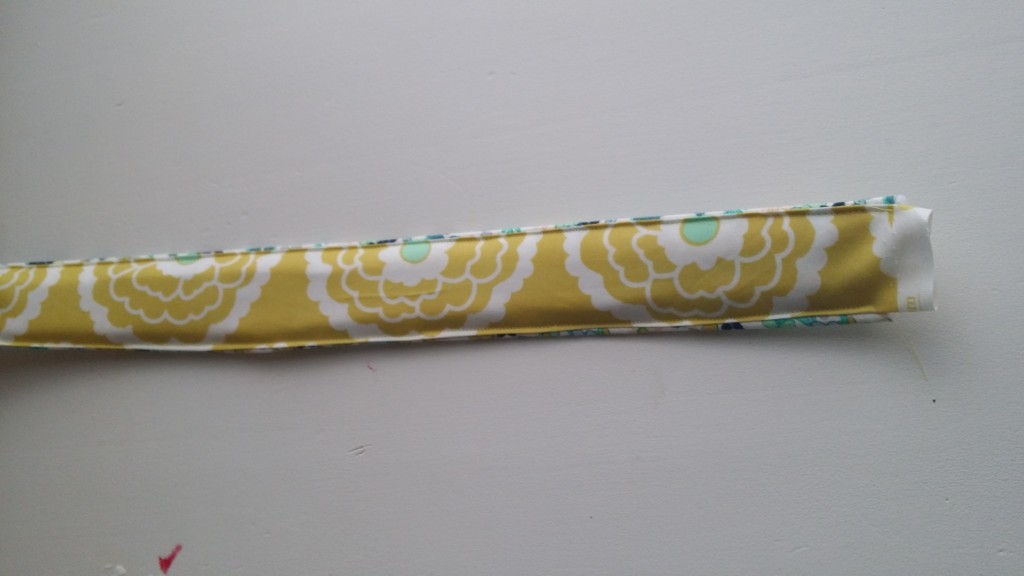
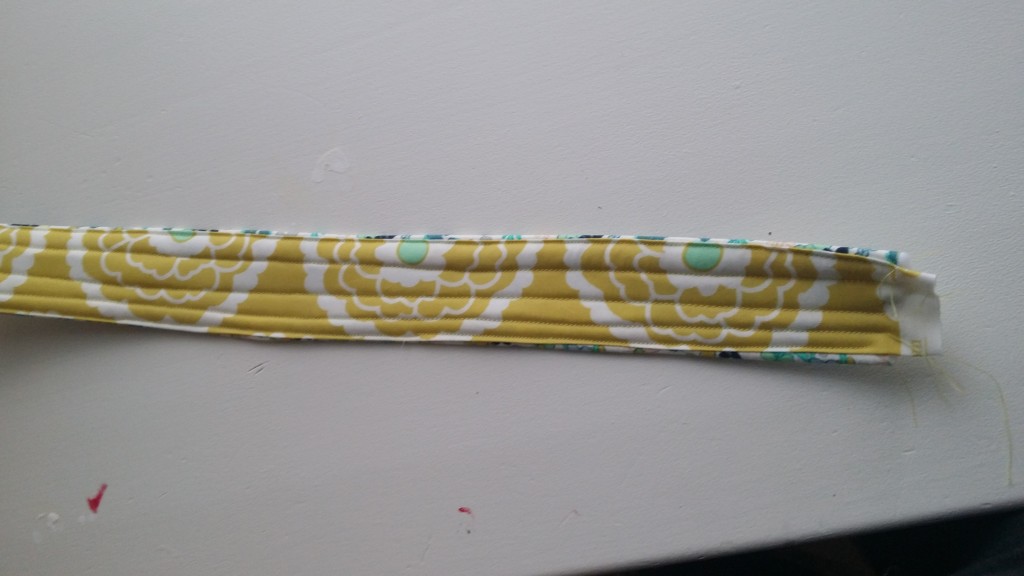
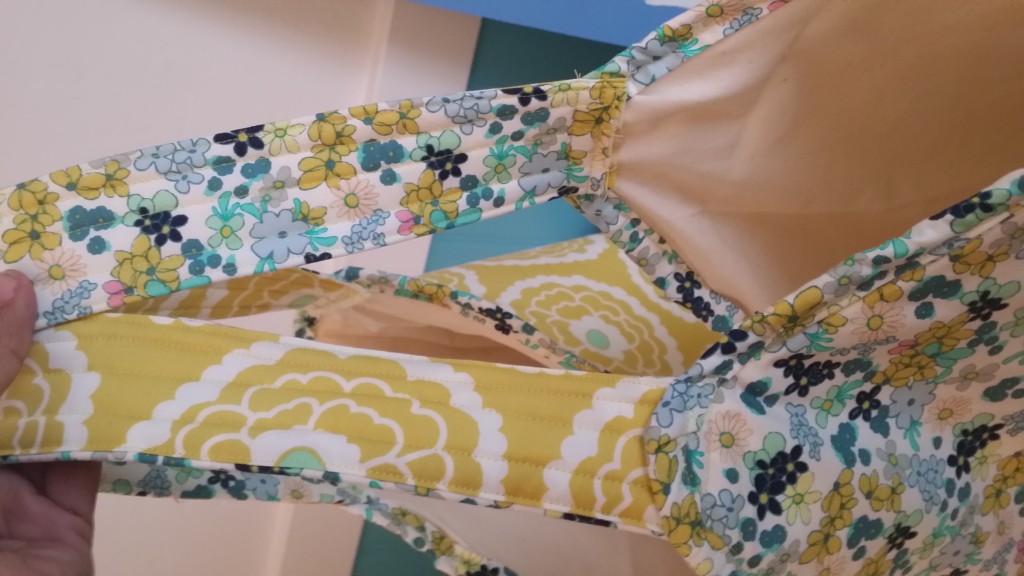
For the straps, I covered them in tubes. I would have liked them to be neater but overall I don’t think they look that bad.

IMG_2133

So, there you have it…The Carnaby Carry All Bag. Please post pics of the ones you create so I can see and share.

IMG_2130

IMG_2129

IMG_2155


To make this bag you need:

overlays.

Form the sandwich with the interfacing in the middle.

Form the sandwich with the interfacing in the middle.

Make your binding by folding down the two ends towards the middle

Make your binding by folding down the two ends towards the middle

Add your binding to the top of the pocket piece

Add your binding to the top of the pocket piece

Sew all around your pocket piece

Sew all around your pocket piece

With right sides together, sew the pocket piece to the two overlays

With right sides together, sew the pocket to overlays

Here is your finished front overlay

Here is your finished front overlay

Step 4- Complete your front
Align your overlay to the top of the front main piece and sew down using the red line as your guide on where to sew. Sew on the overlay binding all the way down the bottom of the overlay cover all your stitches.

Sew on the overlay binding

Sew on the overlay binding

Sew down the binding with two stitches

Sew down the binding with two stitches

Step 5- Connect the front and back
Sew the front pieces and the back pieces together using the guide below. Bring forward your two unsewn bottom side pieces to form a triangle. Sew a straight line across the triangle as shown. Repeat step 5 for the lining.

Sew the front to the back using the red line as a guide

Sew the front to the back using the red line as a guide

Here is your opened side bottom piece

Here is your opened side bottom piece

Sew a line straight across

Sew a line straight across

This is what it will look like when you turn the back inside out

It will look like this inside out

Do this entire process for your lining piece as well

Repeat for lining

Step 5- Complete main bag

Take the lining and fit it into the main bag. Using a long stitch sew the lining to the main bag. Make the binding for the top edges. From the pattern, you would need to cut 4 pieces and join two together to get the front binding and 2 together to get the back binding. Sew on the binding over the top of the lining and the main bag.

Fit lining into main bag wrong sides together and sew all around the top.

Fit lining into bag and sew around top

Sew on your binding all the way around doing the front first then the back.

Sew binding on top of front and back

This is what it will look like when its all sewn on.

This is what it will look like when its all sewn on.

Step 6-Make the straps
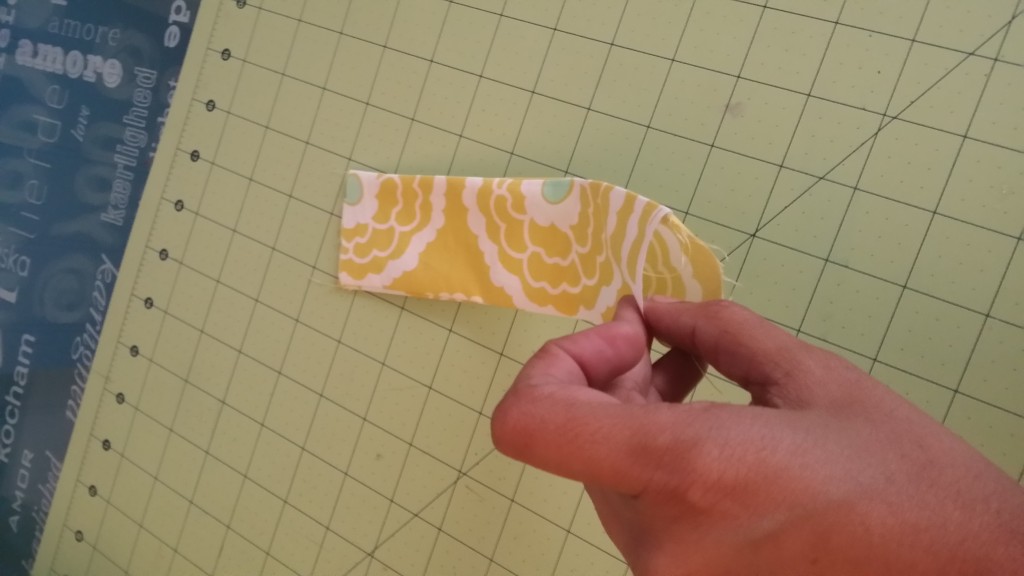
Take the strip that you ironed on the interfacing on and fold in the edges about 1/2″ in. Iron down. Take the other coordinating piece and do the same thing to the edges. Lay the coordinating piece over the main piece and sew down. I did 4 long stitches on mine to make it look quilted.

Fold the edges of your straps

Fold the edges of your straps

Lay coordinating strap over the main strap

Lay coordinating strap over the main strap

Top stitch the two down on the sides

Top stitch the two down on the sides

Do horizontal stitches to make it look quilted.

Step 7- Attach straps and complete
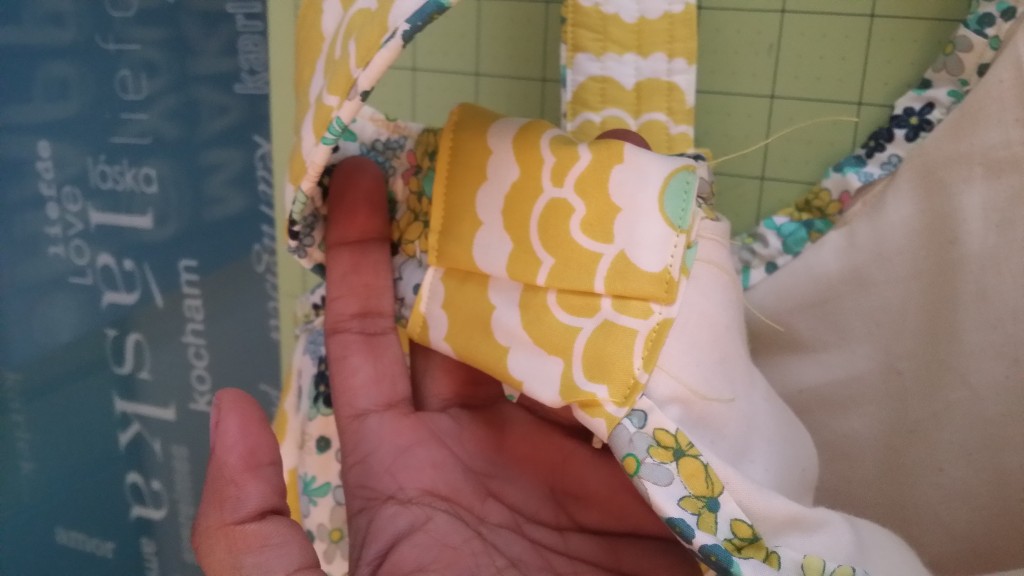
Sew straps to inner top edges of 4 top pieces of the bag. Make the loops/tubes by sewing two pieces right sides together and turning them inside out. Wrap the tubes on each of the strap pieces to cover the opened seam.

Sew straps to inner top of the bag. Each strap will connect to its opposite neighbor: front to front and back to back.

Sew straps to inner tops front to front, back to back

Here is your loop/tube

Here is your loop/tube

Wrap around and fold in your ends. Sew close.

Wrap around and fold in your ends. Sew close.

And there you have it! You have made your Carnaby Carry All! You can follow Pat Bravothrough her blog, her facebook page, twitter, instagram, pinterest or flickr.

IMG_2157

۳۰ تیر ۹۴ ، ۰۹:۳۳ ۰ نظر موافقین ۰ مخالفین ۰
کار در خانه