به آدرس زیر رجوع کنید
http://dollarstorecrafts.com/2009/06/placemat-handbag-tutorial/
اگه سمج باشید
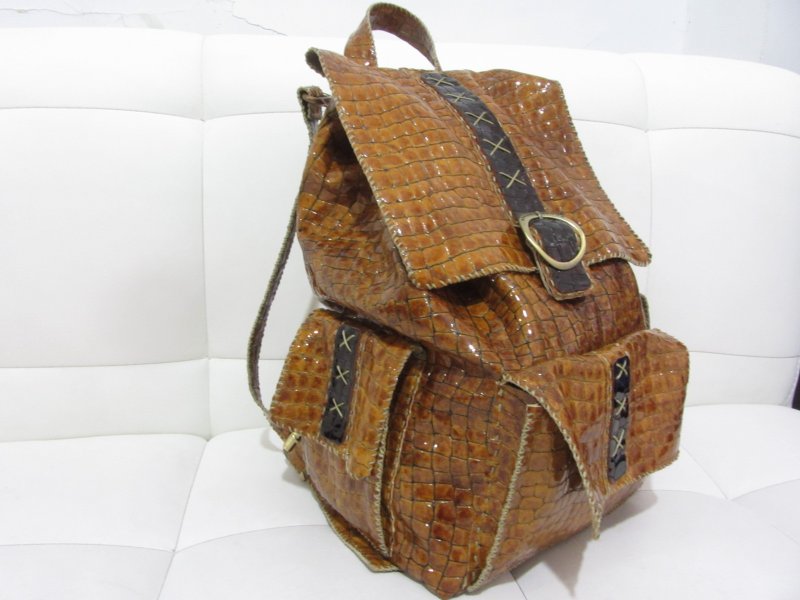
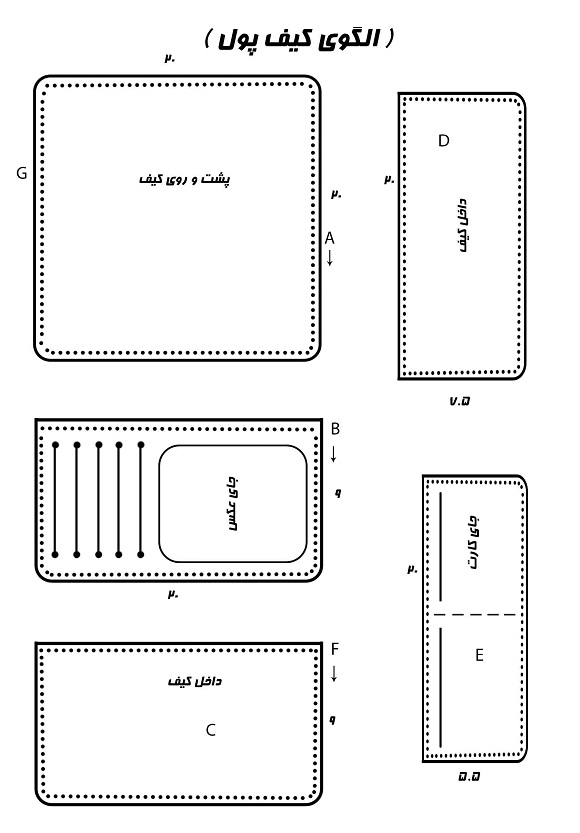
الگوهای کیف زیادی برای شما به طور مجانی وجود دارد
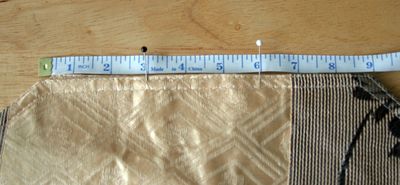
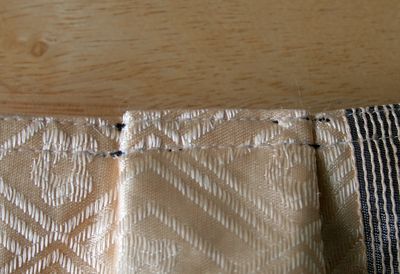
Pleating:
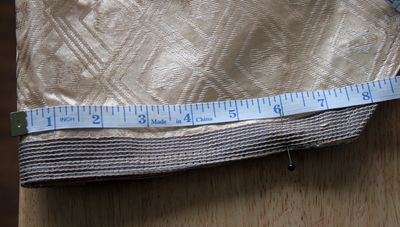
- Measure and mark equidistant points on the short edges of your placemat. I measured 3" in from each end of mine and marked the points with pins. I then measured another half-inch or so in from those pins and marked them with a second set of pins. (For some reason I didn't take photos of the second set of pins, or my camera ate them. I remember taking them, but mommy memory is so faulty, you know?)
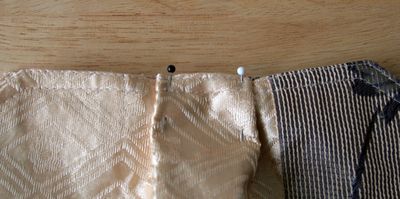
- Fold outside pins under inner pins into a pleat on each side. Remove marking pins and just pin the pleat.
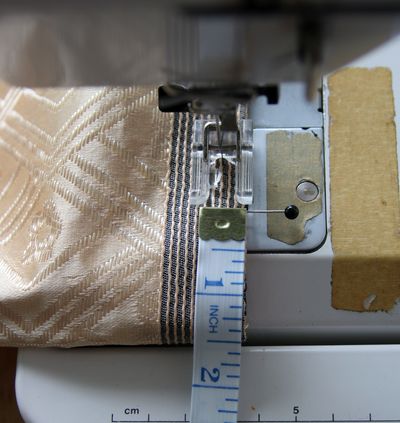
- Sew over the pleat, reinforcing at the point where fabric overlaps. I used clear thread in the top of my sewing machine so it wouldn't show. I also used a heavy-duty needle in my machine (I have "leather" needles) because I was sewing thick fabric with multiple thicknesses, and I broke my regular needle
- Remember to pleat both short ends of the placemat.
Adding handles:
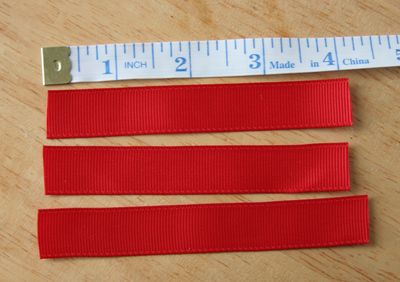
- For each side, measure three pieces of ribbon approximately 4". You can use a match or lighter to seal the edges of the ribbon so they won't unravel. This sounds a lot more intimidating than it is! Just barely touch the end near an open flame.
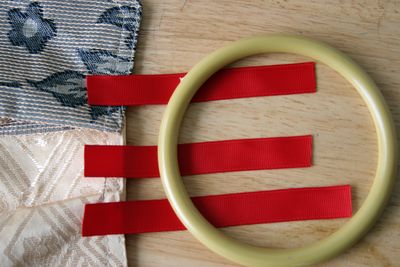
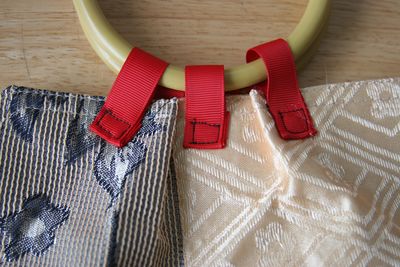
- Line the three ribbons up near the pleat on the wrong side (the side that will become the inside) of your purse. This will be the inside of the pleat. (Observant readers will note my finished purse is shown with the "wrong side" pleat outward in the photo. That's because I liked how the ribbon tabs looked on the wrong side more than they did on the right side. The extra red was just prettier that way. This purse will work turned either way.)
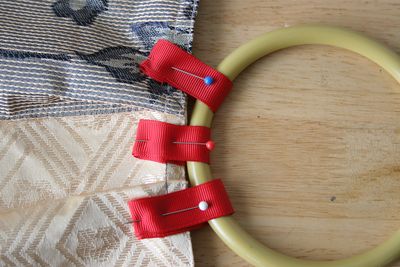
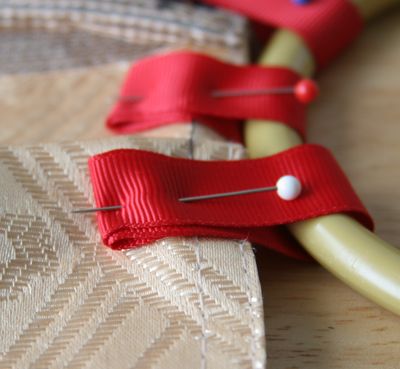
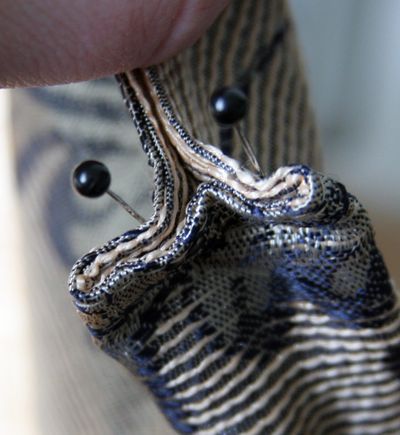
- Fold the ribbon over the hoop and pin. I folded my raw edges under and pinned a 4x thickness of ribbon onto the fabric because I wanted extra reinforcement.Here's a close-up of the folded-under edge of the ribbon.
- Repeat handle attachment for second end of the placemat.
- Sew ribbons to placemat. I sewed a box on the reinforced bit of ribbon just to make sure it was well attached. Excuse the black thread that was used for demonstrative purposes! You will want to match thread if possible (or use the clear thread).
Sewing the sides together:
Because the placemat already has finished edges, you can sew this together and not turn the whole thing inside-out when you're done. Or you can turn it inside-out (as shown in final picture). It will work either way.
- Fold placemat in half, matching handles up. Measure 1-1/2" down from edge of purse and mark with a pin.
- Measure 1-1/2" from fold and mark with a second pin (more if you want a roomier purse). You will sew between the pins, reinforcing at each edge.
- Take unsewn gap at fold and pinch into a T-formation and pin, as shown. Sew each side of T together to form gusset.
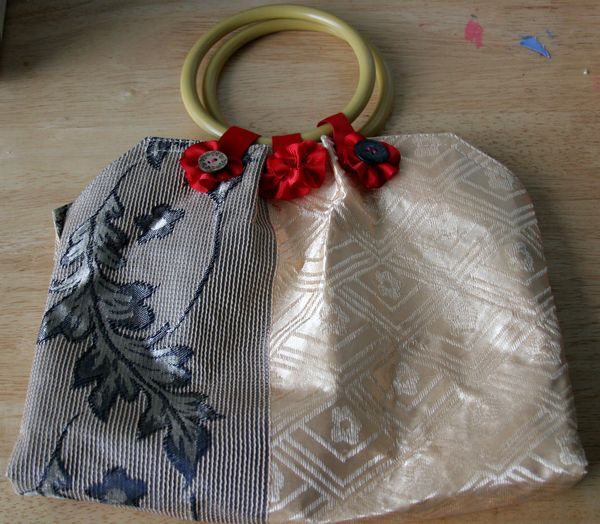
Your purse is done! Add embellishments if desired, like these ribbon rosettes.

Here's a second placement of the rosettes.
To make ribbon rosettes:
- Finish edges of ribbon with match or lighter.
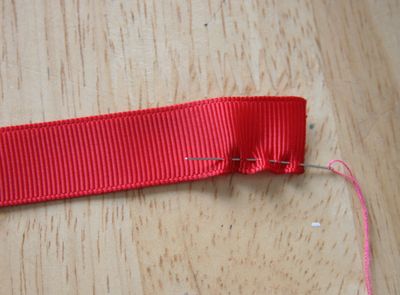
- Take a 6" length of ribbon and sew a running stitch through one long end of the ribbon.
- Curl into a rosette and sew ends together or coil into a more full rosette.
- Attach a button to center of rosette if desired.
- Sew