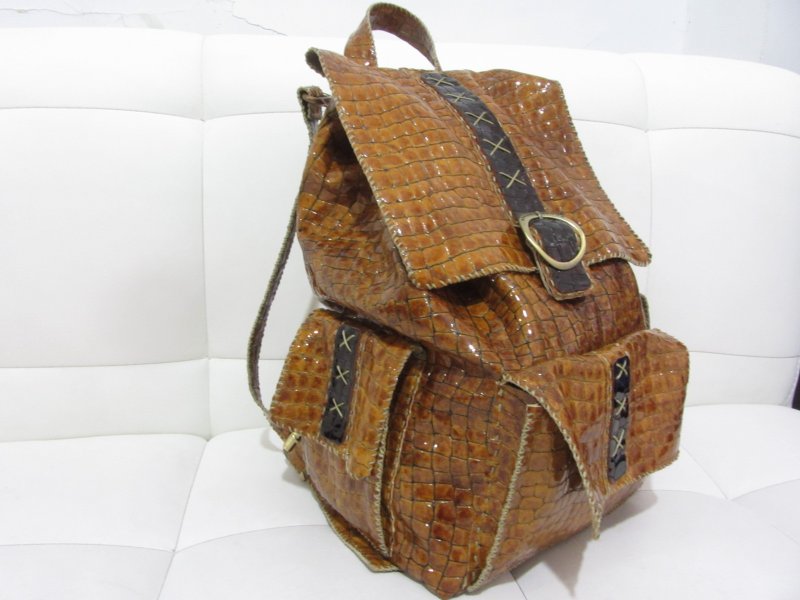
از سختی کار نترسید
با تمرین بهتر از این را هم می توانید تولید کنید
به آرامش هنگام کار و لذت پایان کار فکر کنید
توضیحات بیشتر را از این سایت بگیرید
http://www.instructables.com/id/Leather-Briefcase/?ALLSTEPS
At this point you can line the back, bottom and sides of your bag. I usually wait to line the front so I can get everything fitting perfectly to add the tuck catches to close the bag. It's not necessary to line the bag if you don't want to. You can also do a cloth liner but I don't like to because it usually wears out in a year or two.
Step 14: Finish!
Now all you have to do is put a finish on your bag. I sometimes use neat's foot oil, mink oil or you can just use a high quality neutral shoe wax. It's just like waxing your car. Put a small amount on to a clean lint free rag and rub it in. Let it dry for a few minutes and buff it off with another clean rag. Don't leave it on too long


